The Making of Miss October
Posted By Vaughn on October 3, 2014
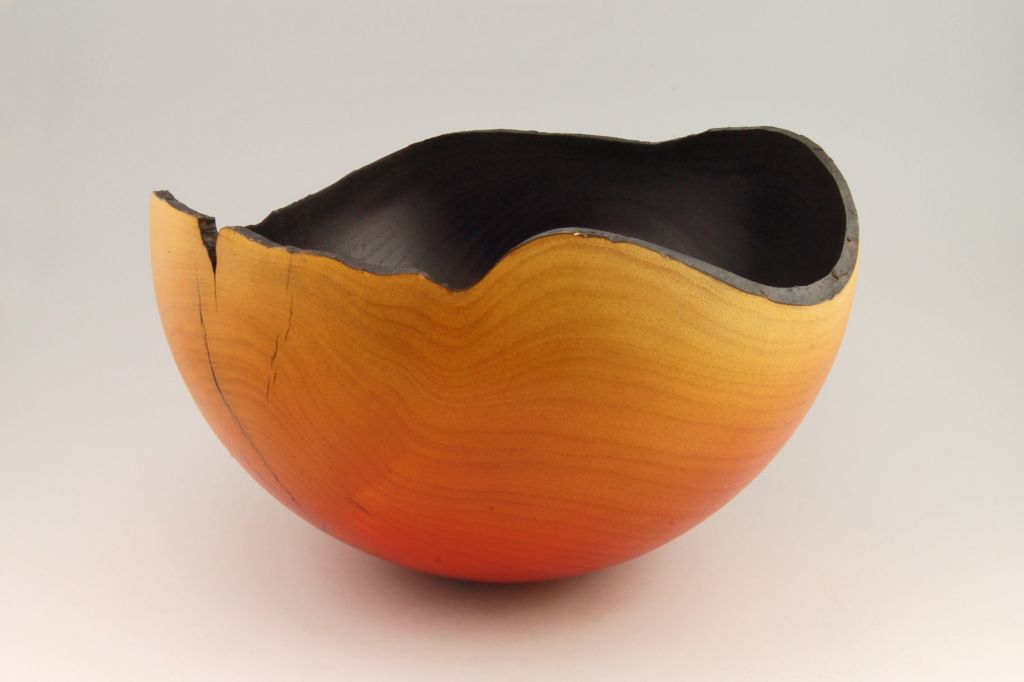
It’s been forever since the last entry in this blog, but today I flipped the page on my Workingwoods 2014 calendar and was pleasantly surprised to see one of my favorite bowls as the featured piece for the month. It’s been almost a year since I put together the calendar, so I tend to forget what’s on it.
This bowl has a rounded bottom – no foot – so I’ve always called it the Roly-Poly Bowl. But looking at the colors and the shape today, I dawned on me that it was a fitting piece for October, so I think from now on this one will be Miss October.
I happened to take a lot of pictures along the way as I made this bowl, and it’s a bit different from most wooden bowls, so I figured it would be a good candidate for a process pictorial. Click on any of the photos to see a larger version. Since there are a lot of photos, I’ll try to keep the captions brief. To the non-woodturner, some of the terms might be foreign. Sorry about that. If you have any questions, feel free to drop me a line.
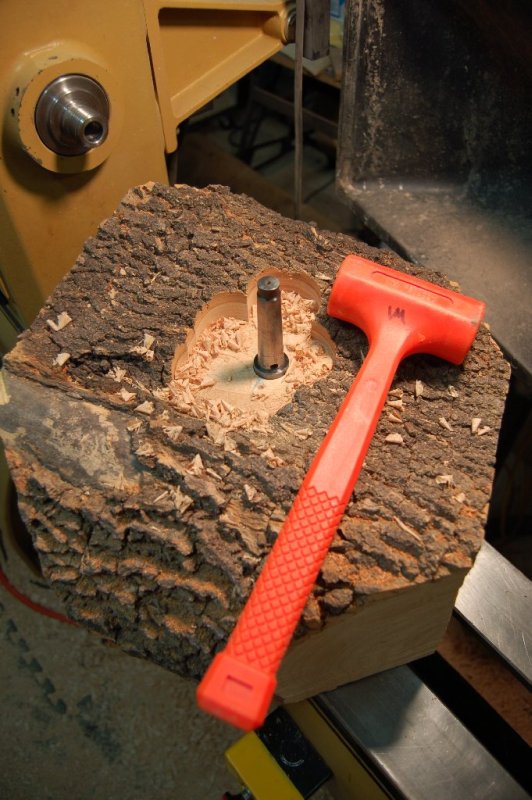
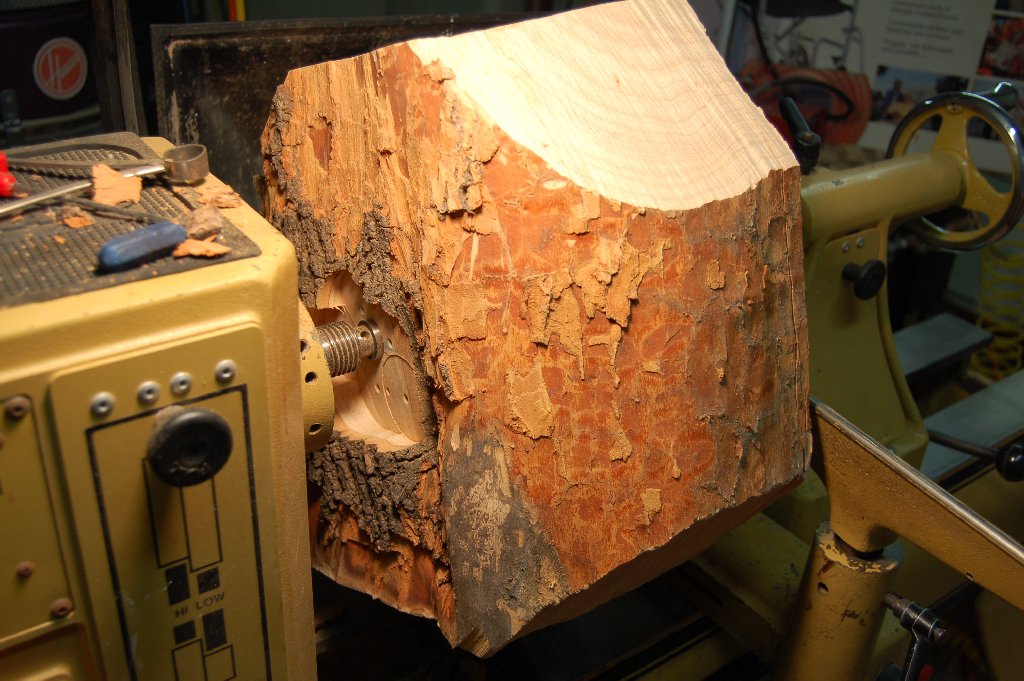
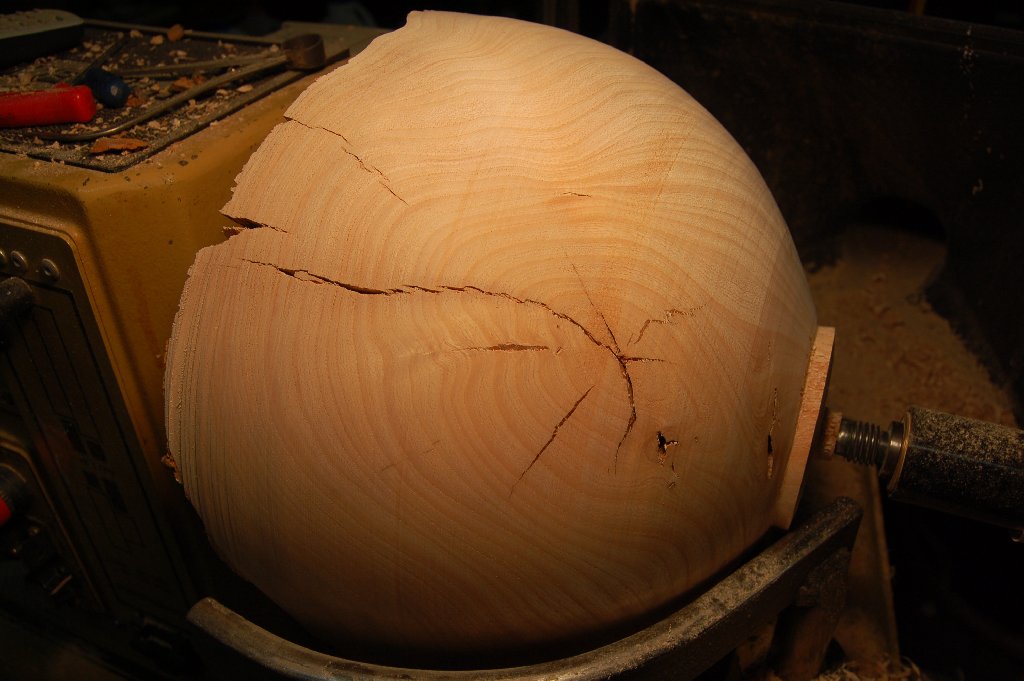
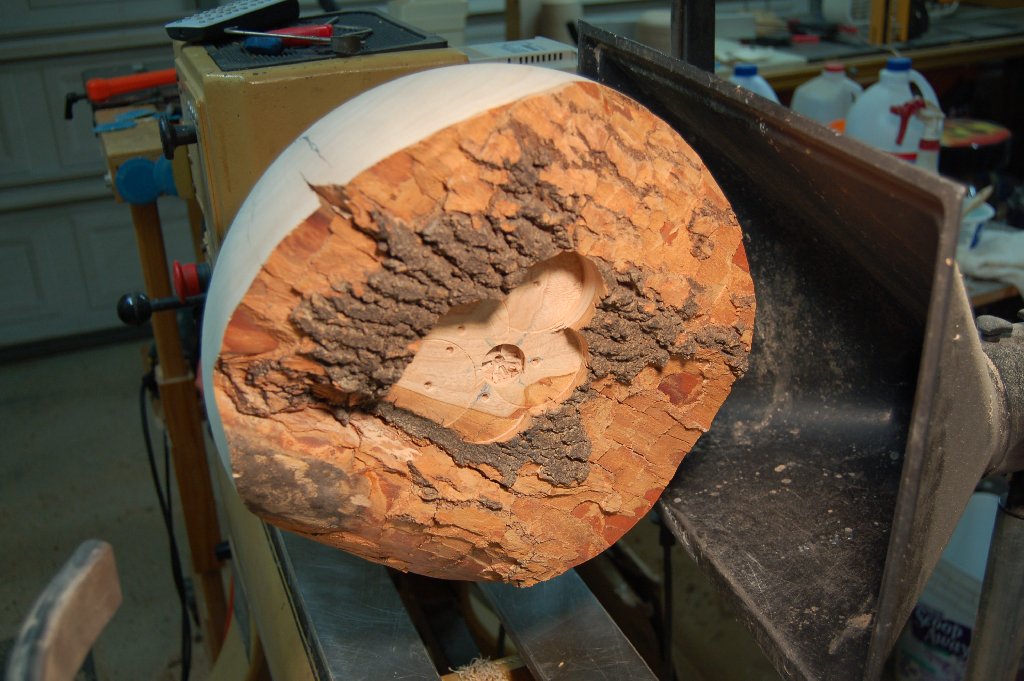
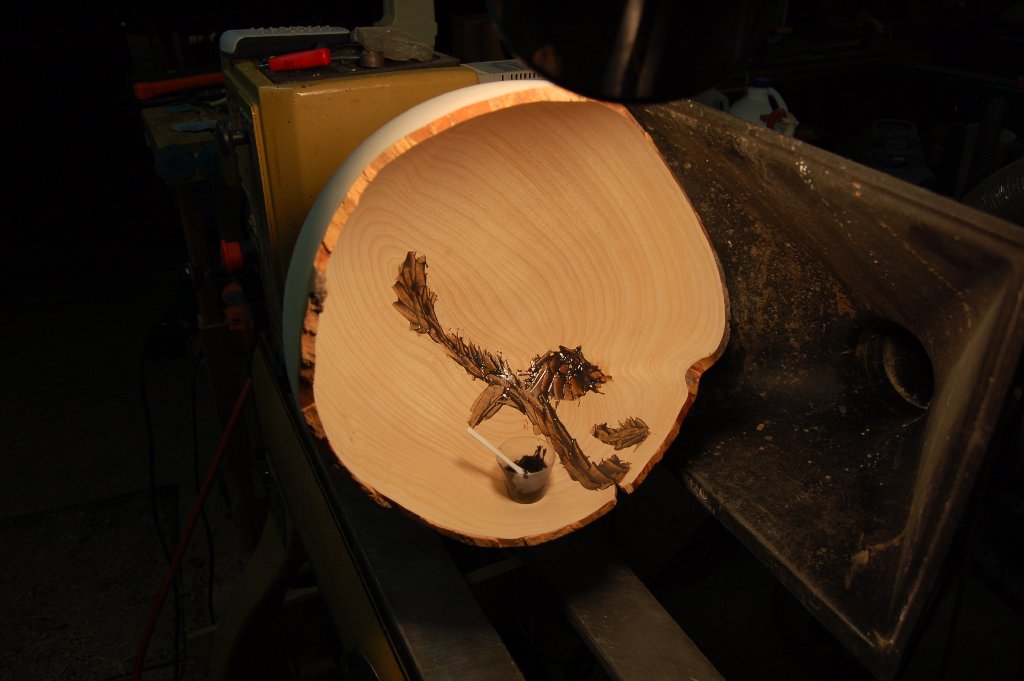
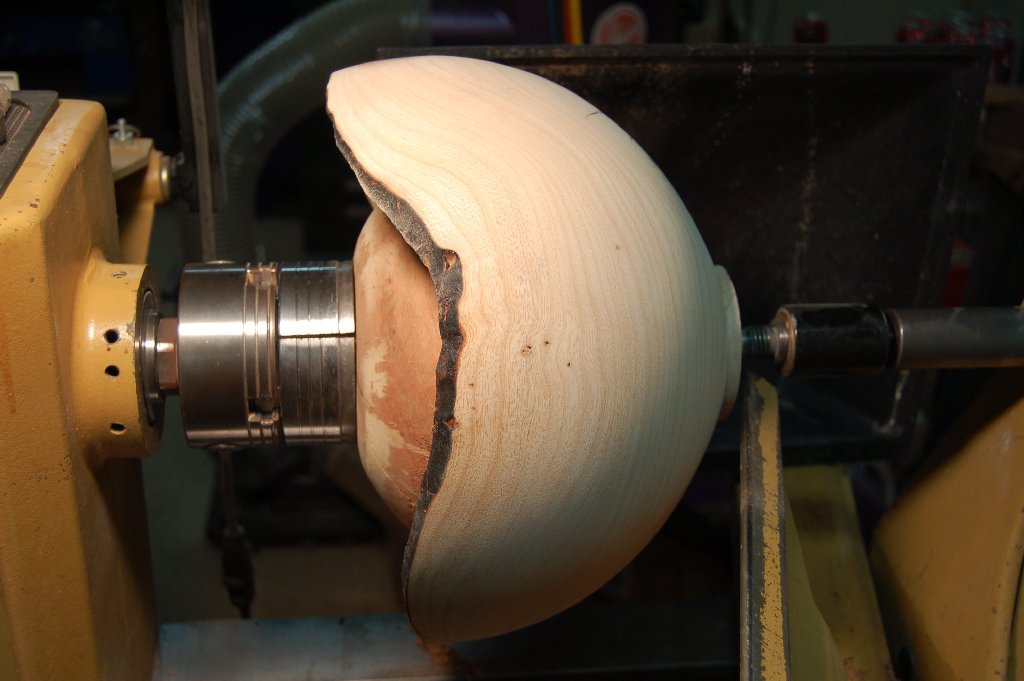
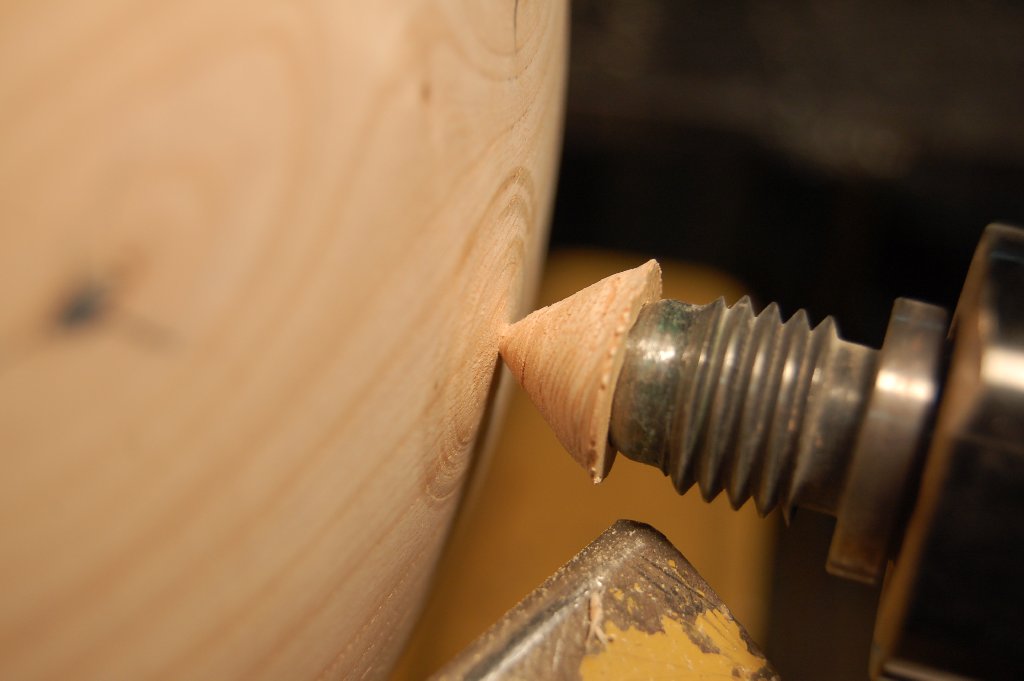
This bowl started out as a chunk of dry ash I picked up at a firewood lot that was going out of business and giving away its inventory. It was roughly 14″ to 15″ across and about 8″ or 9″ thick. I started the turning between centers, but counterbored a 1″ hole as a socket for the spur center.

Makes for a secure mount…
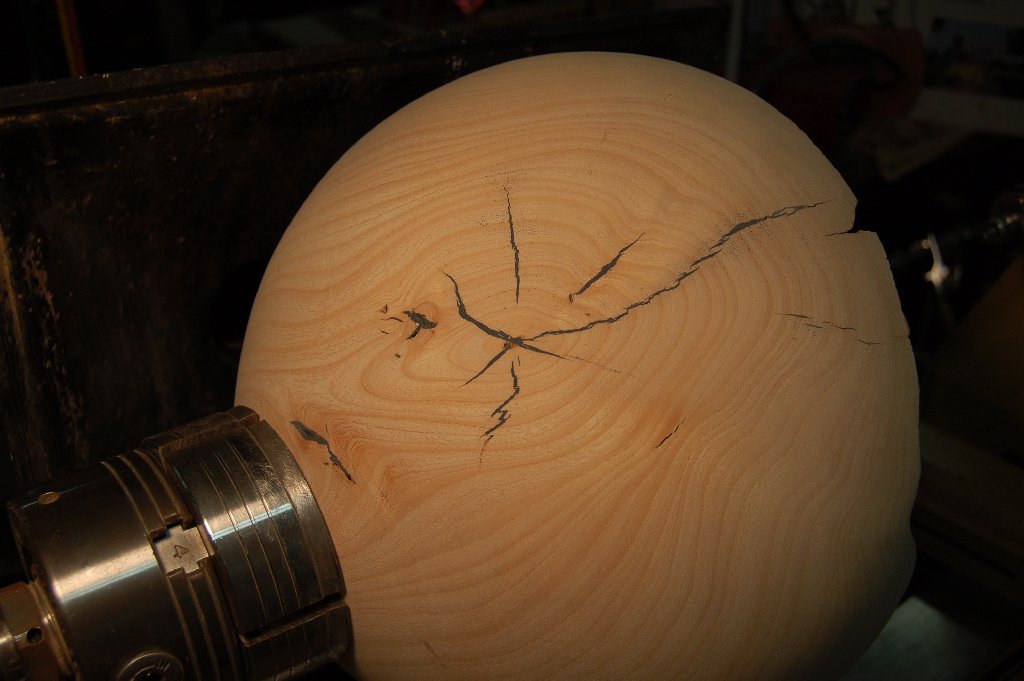
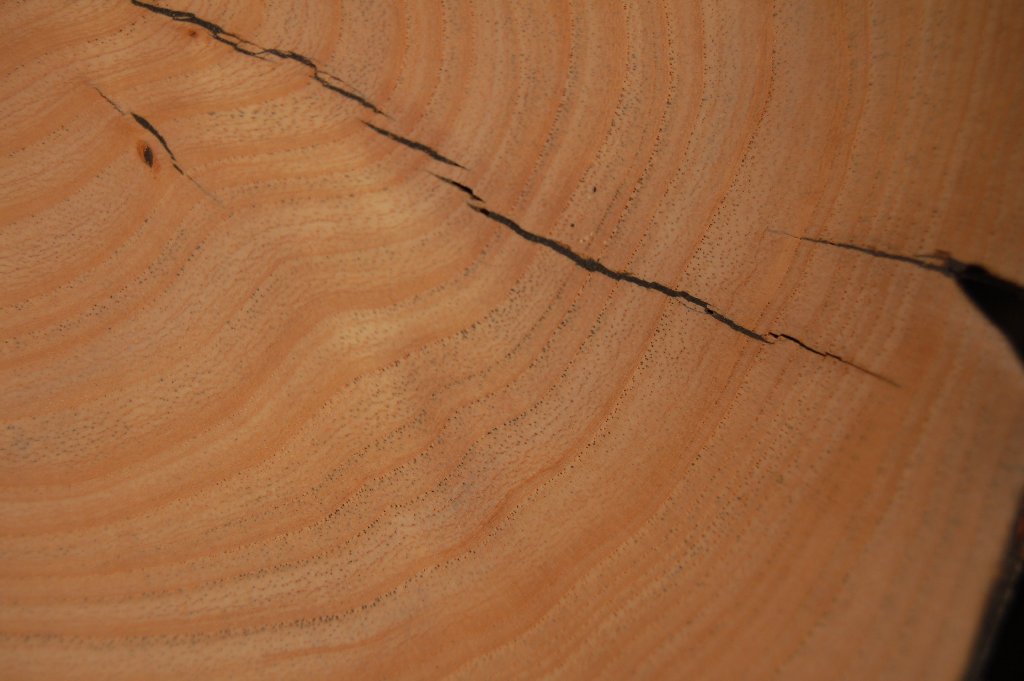
The wood was pretty badly checked. These cracks will come back to haunt me.
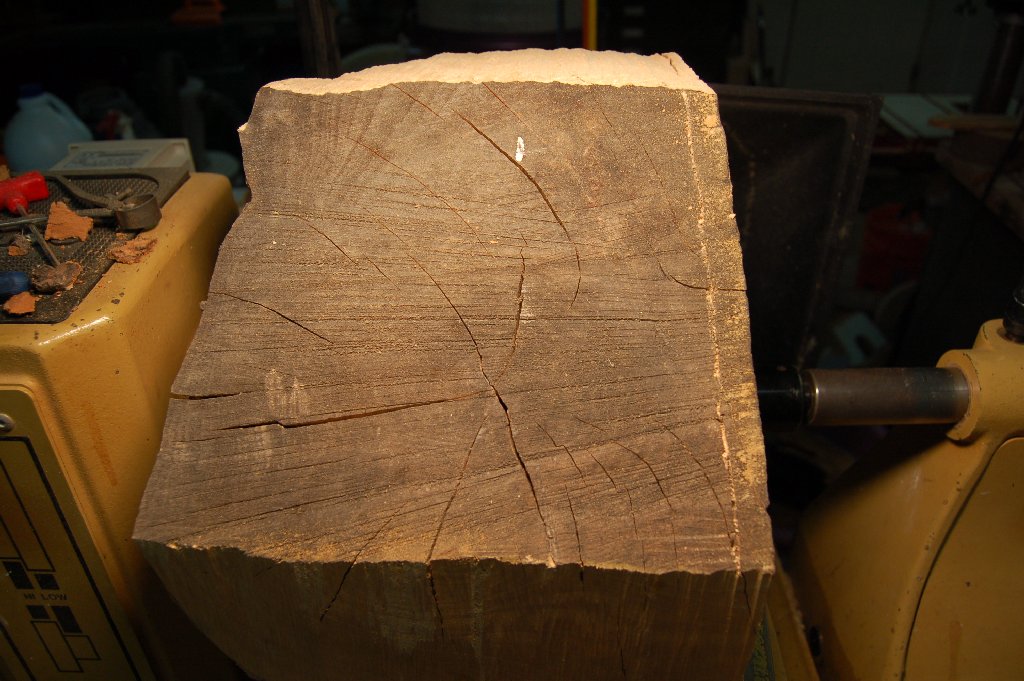
Here’s the blank, mounted on the lathe…
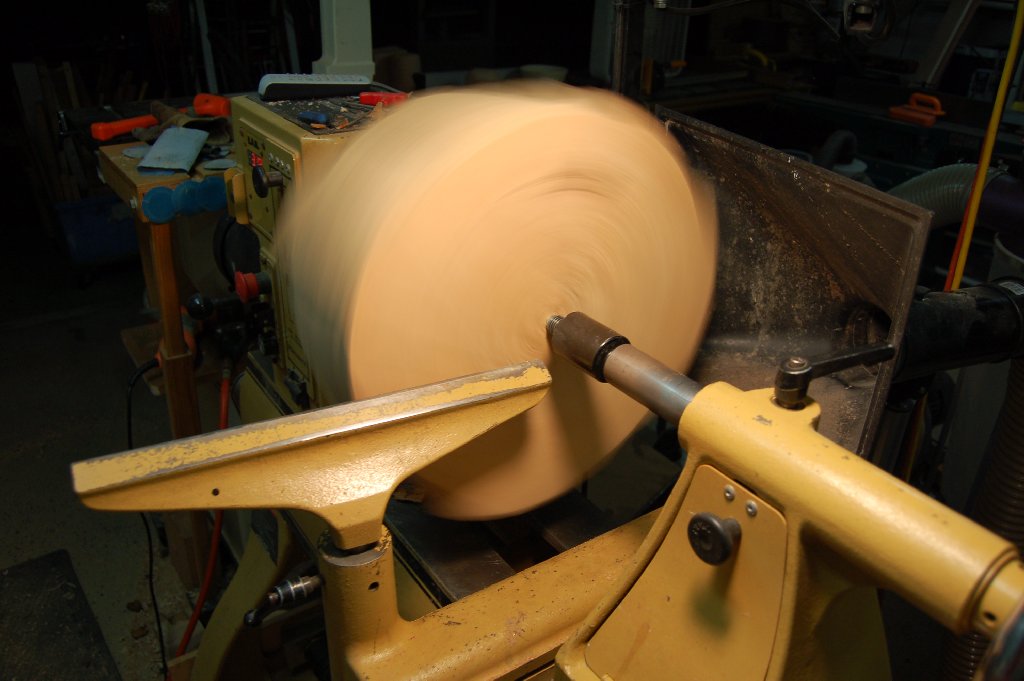
Spin it up and start to cut…
Showing signs of roundness…
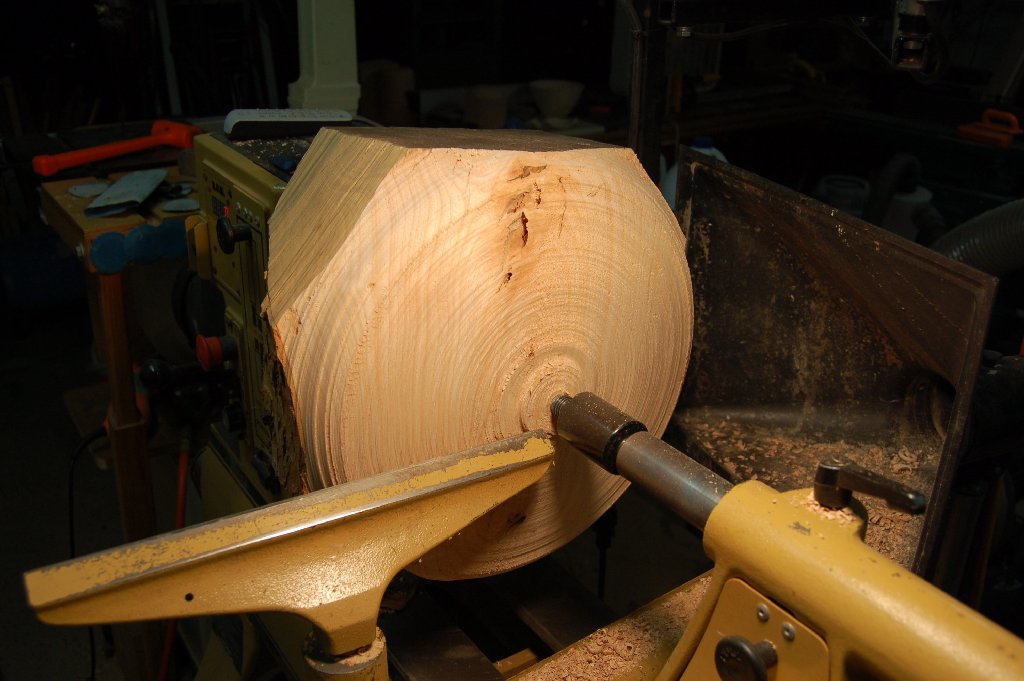
Basic cylinder shape achieved…
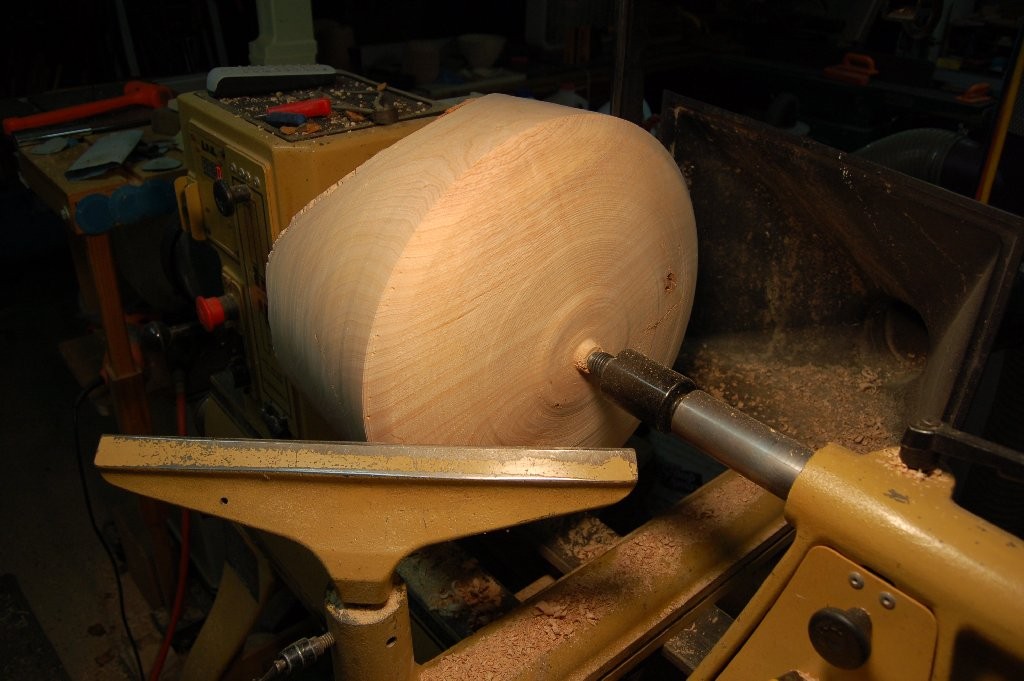
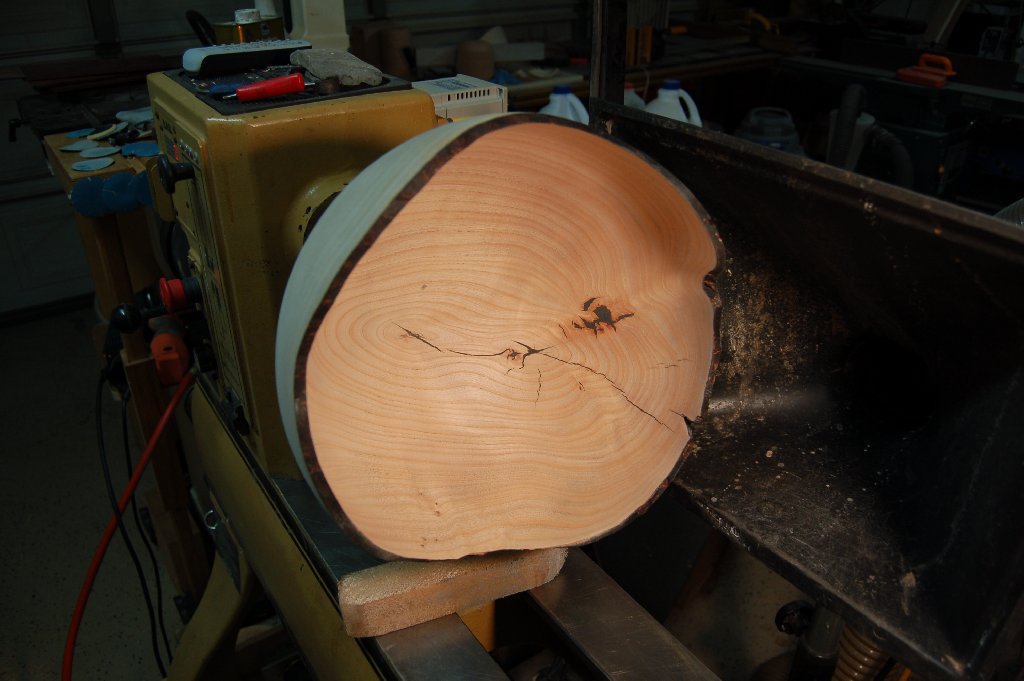
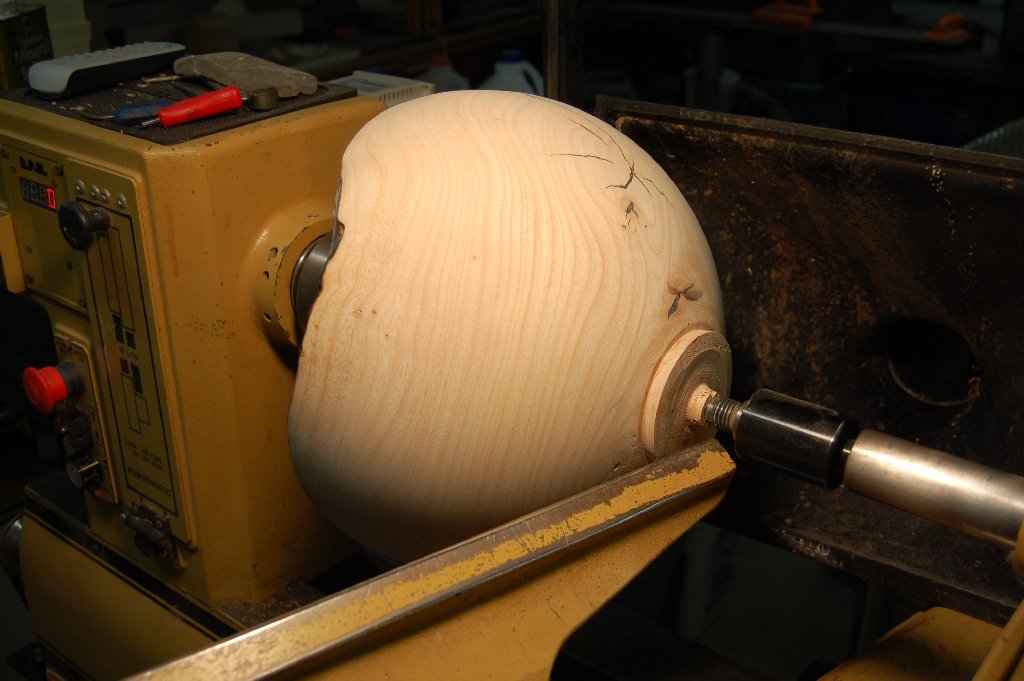
And the basic bowl shape established and a tenon on the end…
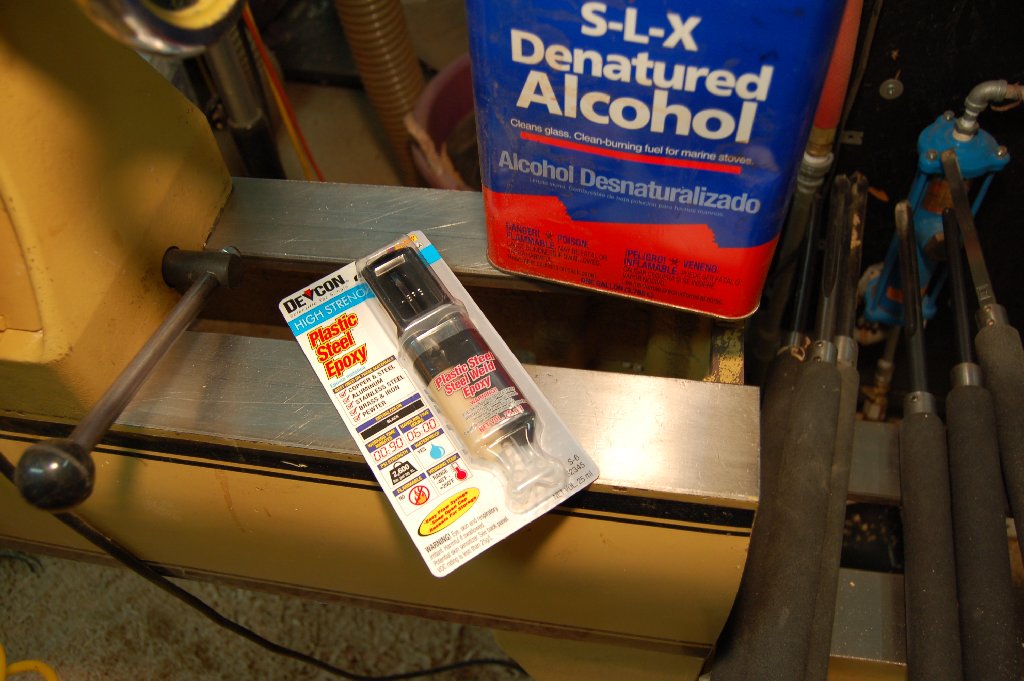
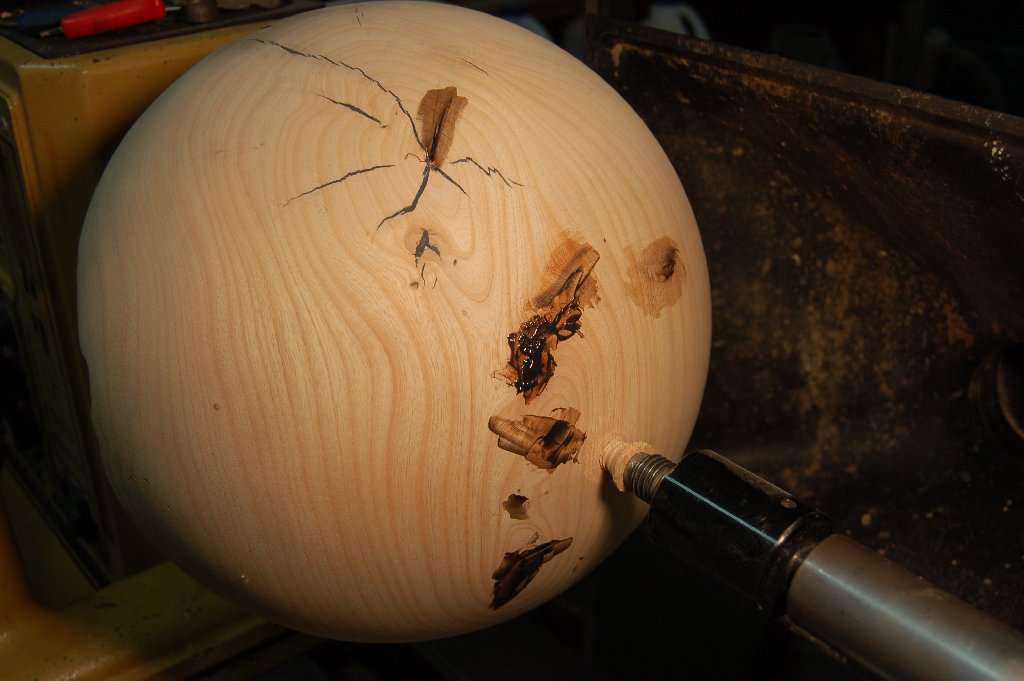
Time to do something about those cracks. My choice is black 2-part epoxy from the local hardware store. I add a little denatured alcohol to thin it and make it go deeper into the cracks.
All patched up…
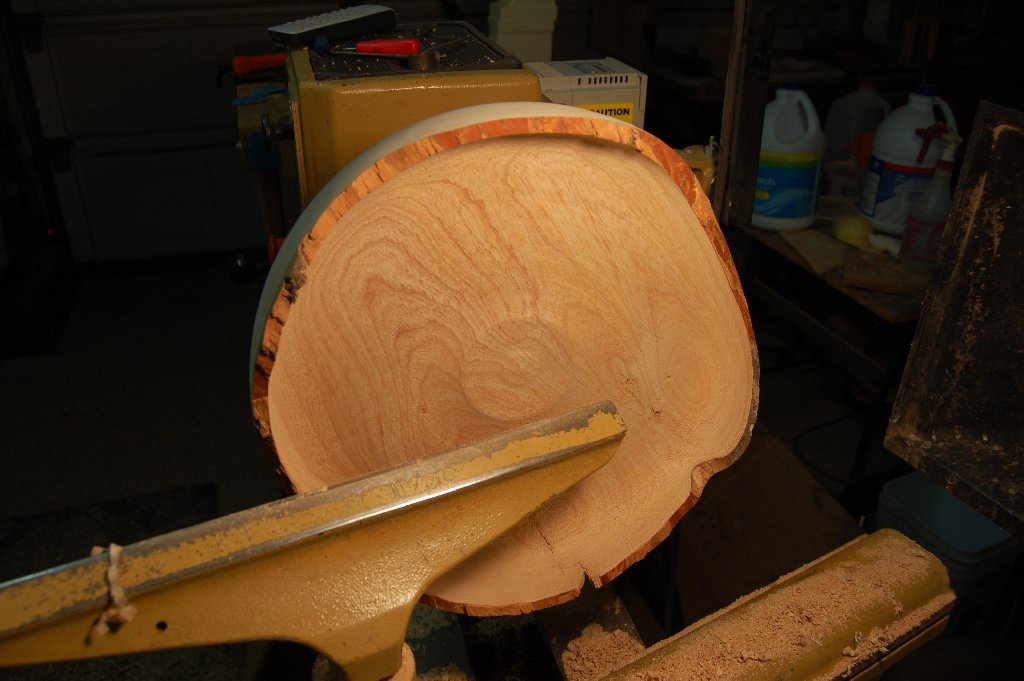
Then sanded smooth after the glue had cured. I have also reversed the blank so it’s now attached to the lathe with the tenon in a chuck.
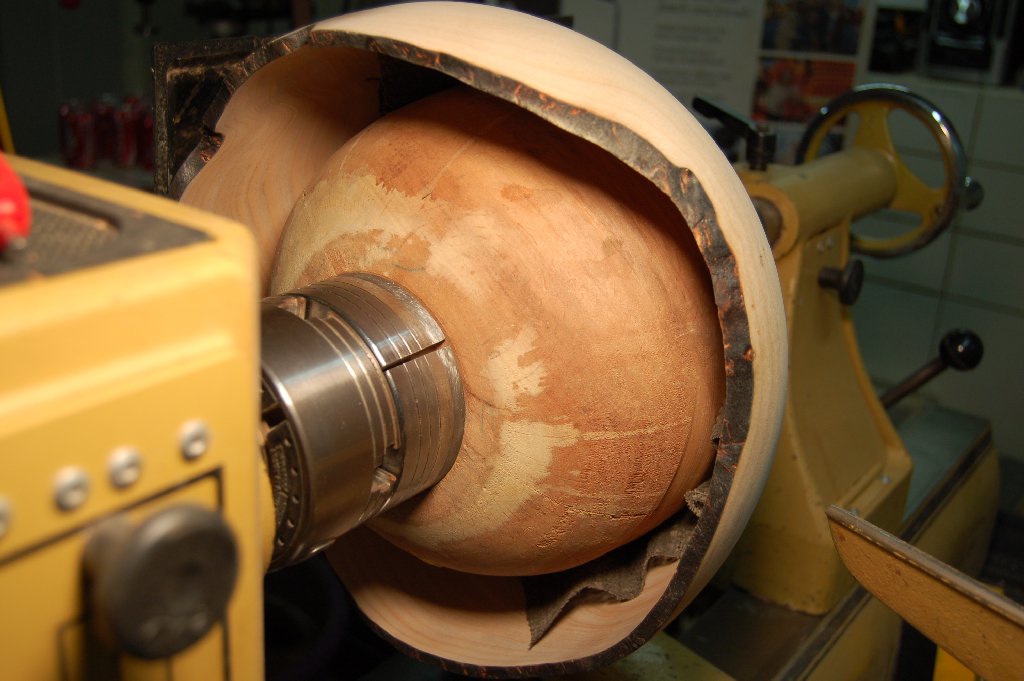
The chuck holds the bottom of the bowl so I can hollow out the top of the bowl…
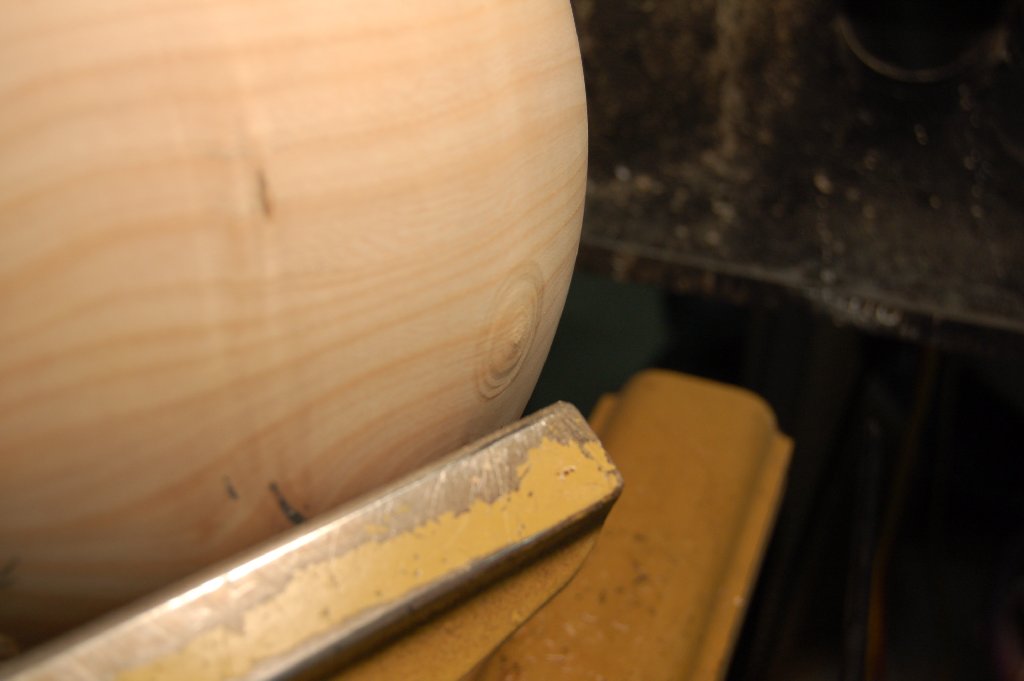
Inside leveled out. I’m keeping the natural edge…
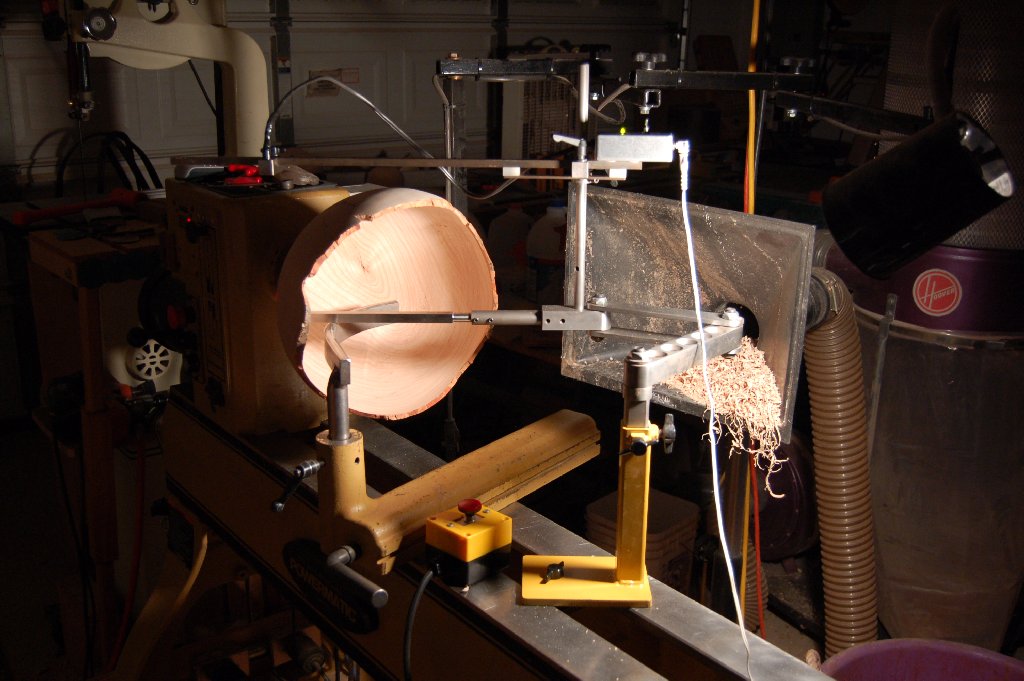
More of the inside hollowed out…
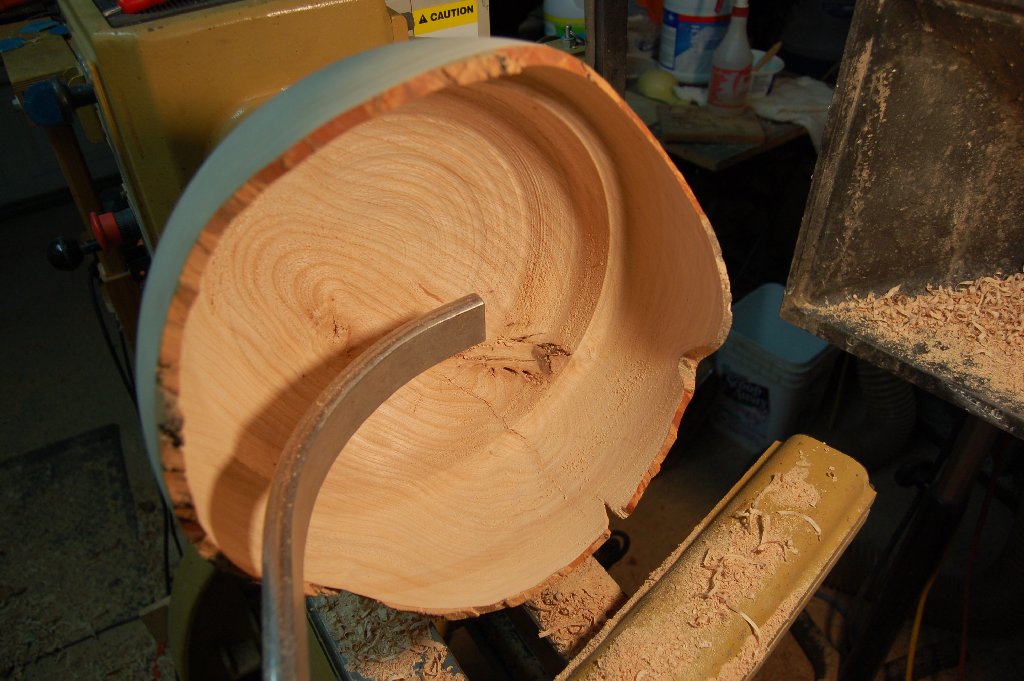
Time to switch to the Monster rig. I’m using a Easy Wood Tools CI0 round tip carbide cutter attached to the Monster Lathe Tools articulated arm hollowing system. The Monster includes a laser indicator to let me see how deep I’m cutting. Makes for very consistent wall thickness in a piece like this. Traditional turners will call this cheating. I call it using tools to increase accuracy and efficiency.
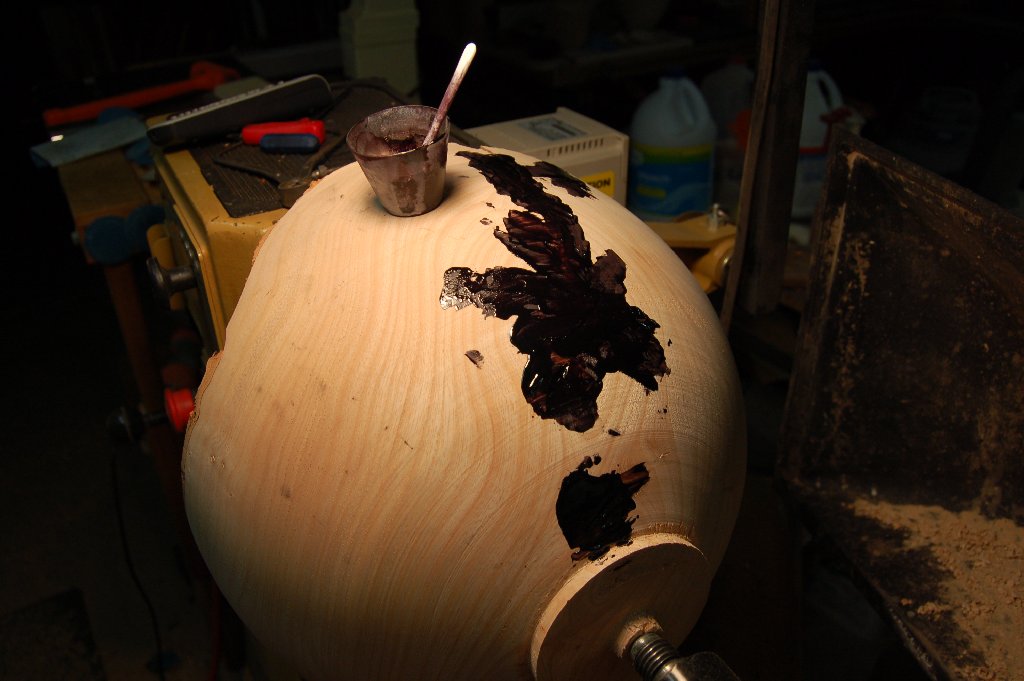
More crack repair…
And sanded smooth. I’m not happy with the way the epoxy looks, though…
And here’s why…the black epoxy got down into the pores of the wood, and it’s “dirtying up” the grain. I’ll deal with that later in the finishing process.
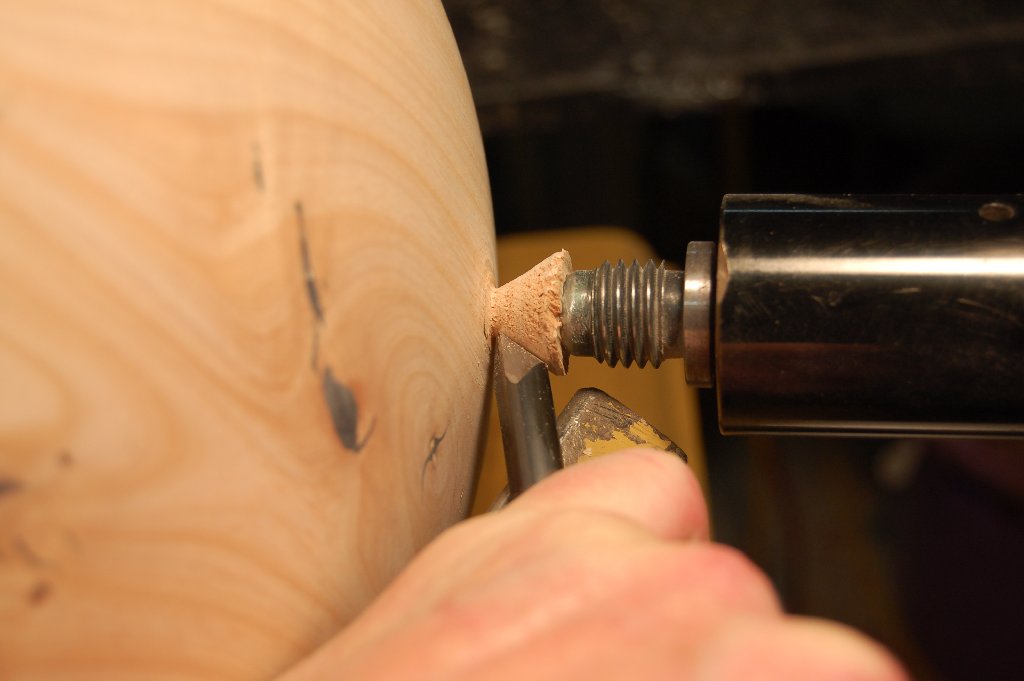
Time to remove the tenon from the bottom of the bowl. To do this, I mount a scrap bowl on the lathe and re-true it. (This was an alder bowl that I started and decided I didn’t like, so I never finished it.)

Using a shelf liner pad for friction and to avoid marking up the inside of the ash bowl, I put the bowls face to face and used the tailstock to hold the big bowl in place.
Goes something like this…
The idea is to turn away the tenon down to a little nub. Here’s how it started…
A few minutes later the tenon is down to this…
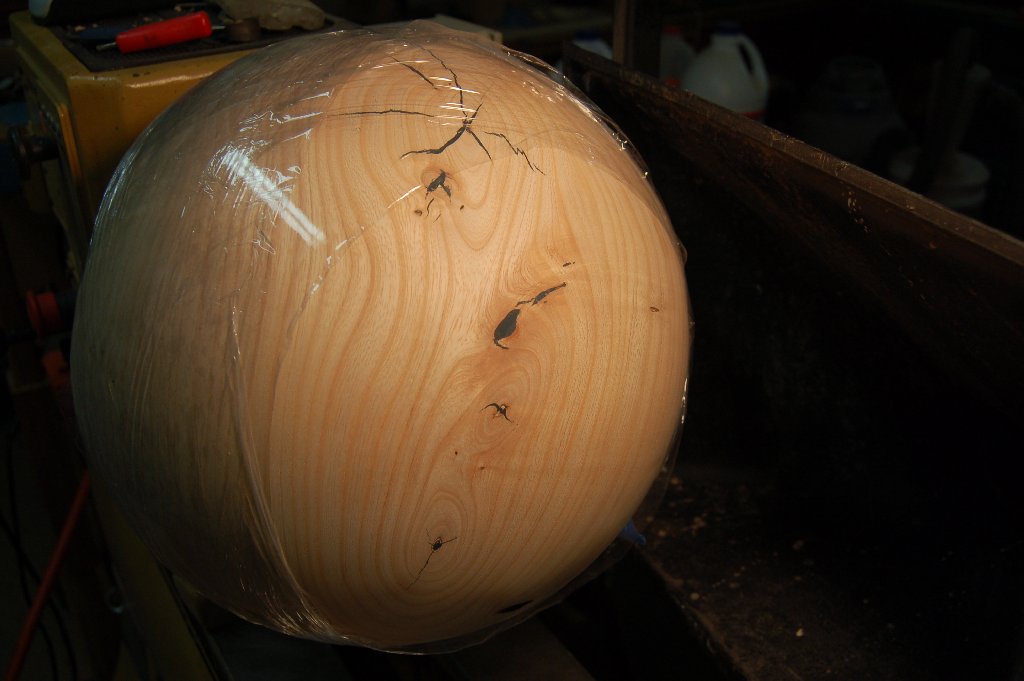
At this point in the game, I used a bit of stretch wrap to make sure the big bowl stays attached to the smaller scrap bowl…

And a view from the other side…

Final cuts on the nub with a shallow detail gouge…
Almost there…
And it’s gone. It’s all over but the sanding now…
The sanded round bottom…
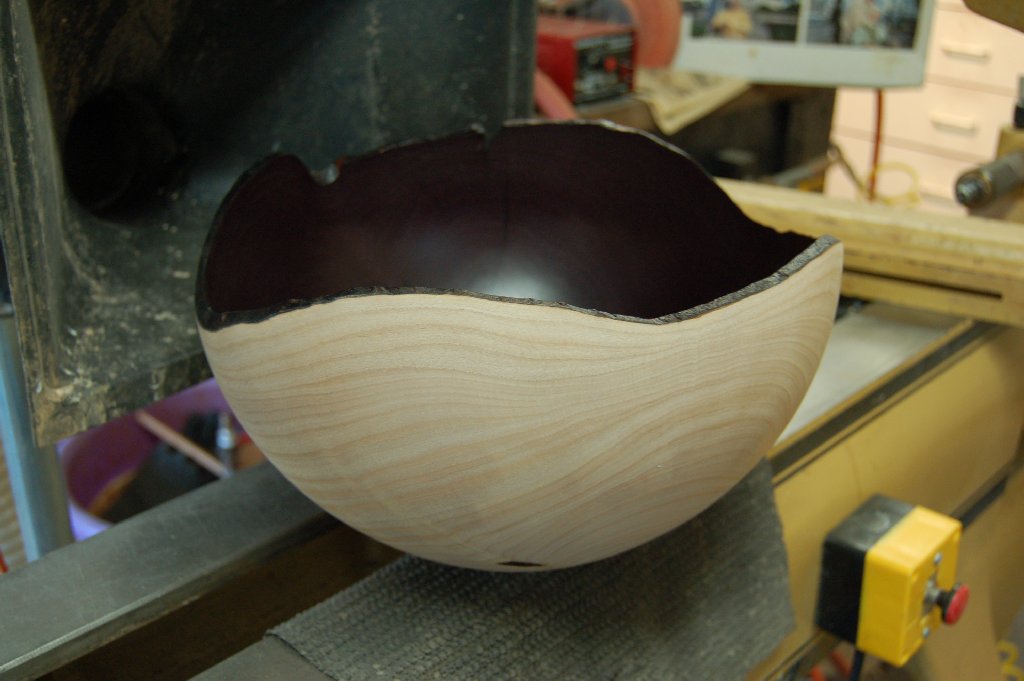
I decided to hide the “dirtied up” wood grain with wood dyes. I had already learned if I dyed the dry ash directly, the dye would soak through the wood and splotch the opposite side. The solution was to add the dye to a water-based lacquer to tint it. The lacquer wouldn’t soak through the wood, but the dye would allow the wood grain to still be visible. I decided the inside of the bowl should be black, so I masked off the outside of the bowl in preparation for the spray gun…

The first coat of the black-tinted lacquer ended up looking very purple…

But a few coats later, it darkened up into a deep black.
For the outside, I started by spraying the entire outside with yellow-tinted lacquer. After that I sprayed about half the bottom with orange, followed by a few shots of red on the very bottom…
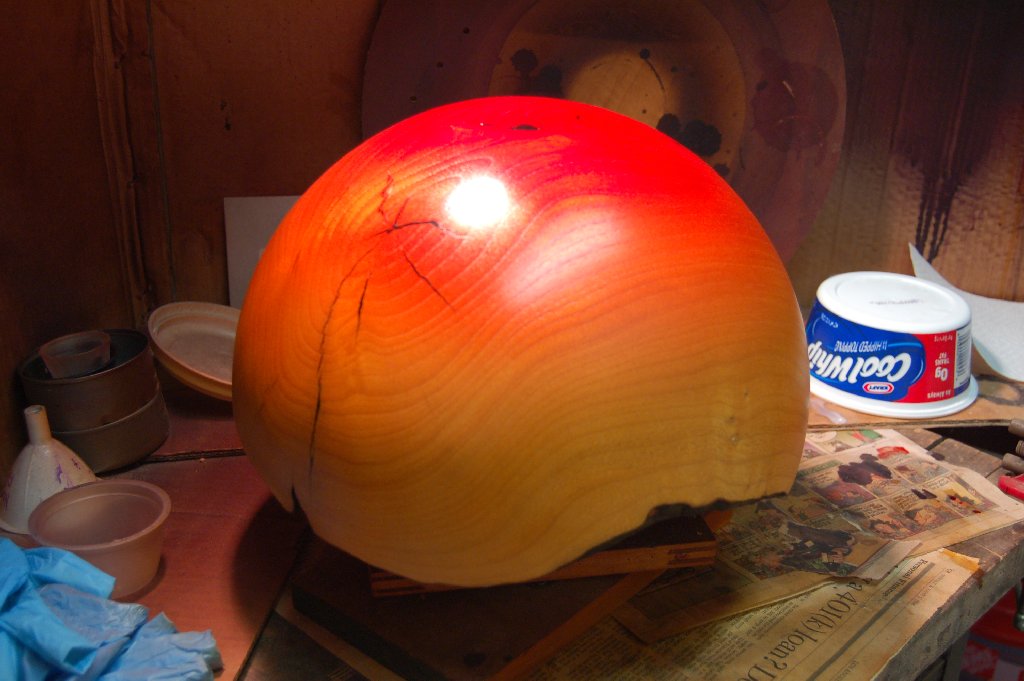
After a few coats of clear coat and some quality time with a few buffing wheels, the bowl was ready for its session in the photo tent…
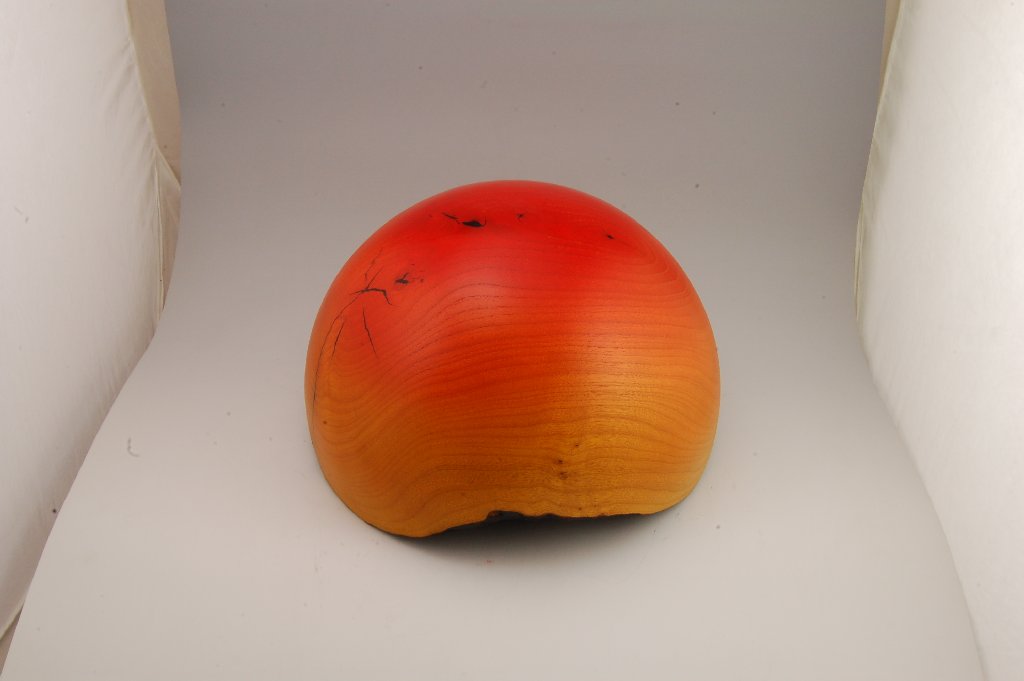
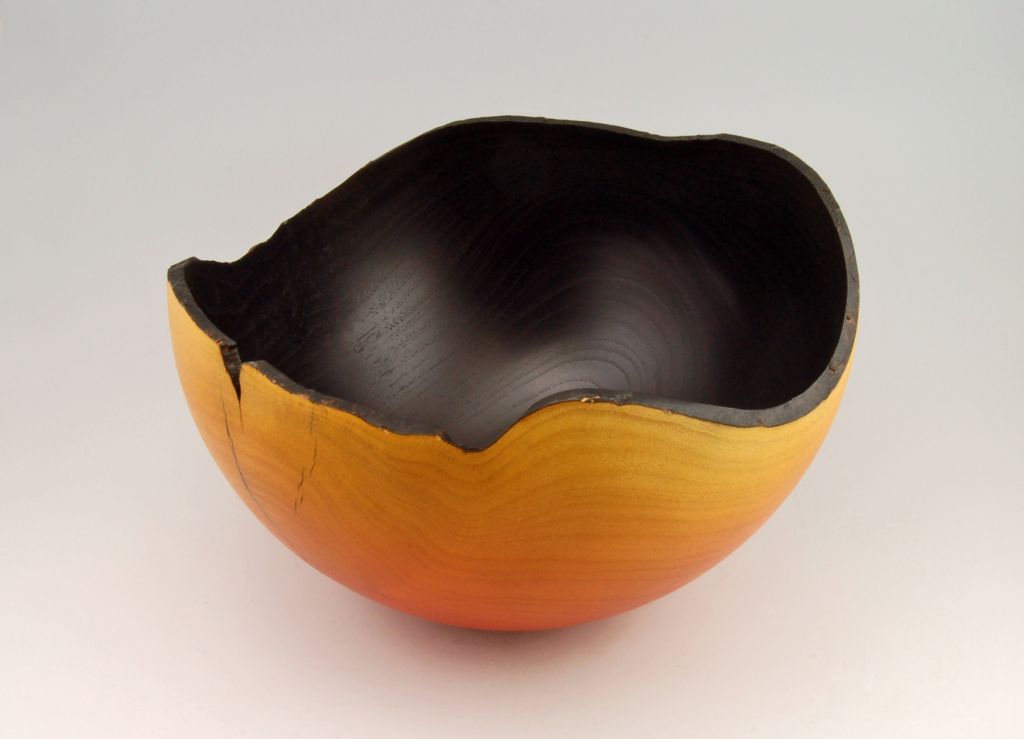
Here’s what my camera sees for the initial “product” shot…
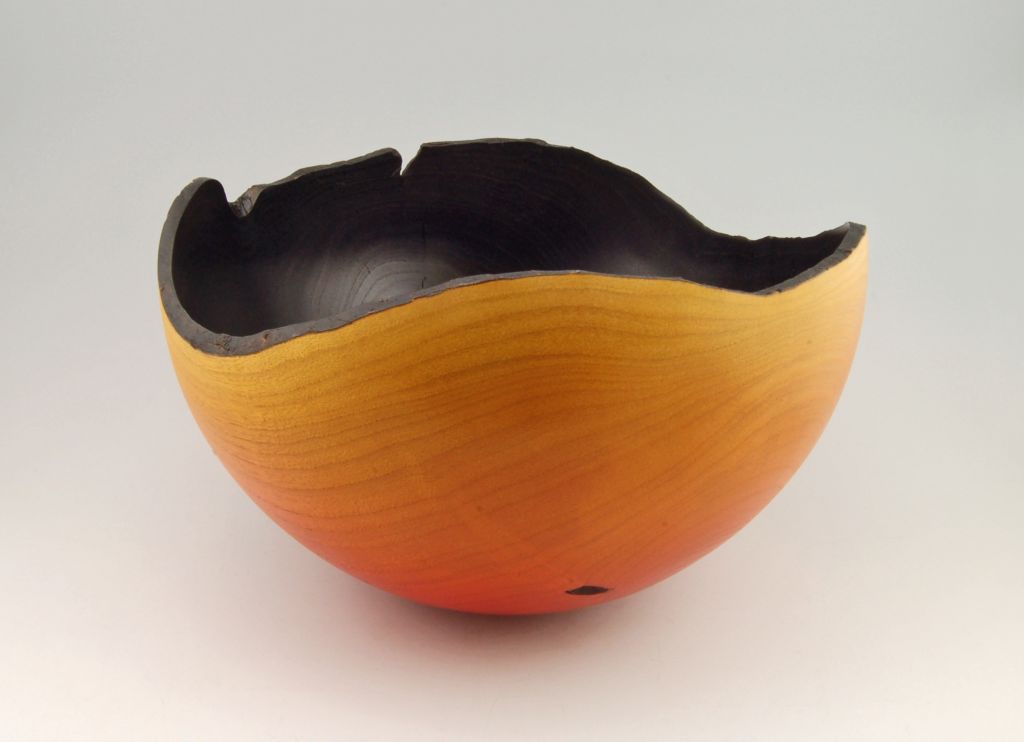
And here’s the end result after a bit of background cleanup with Photoshop…
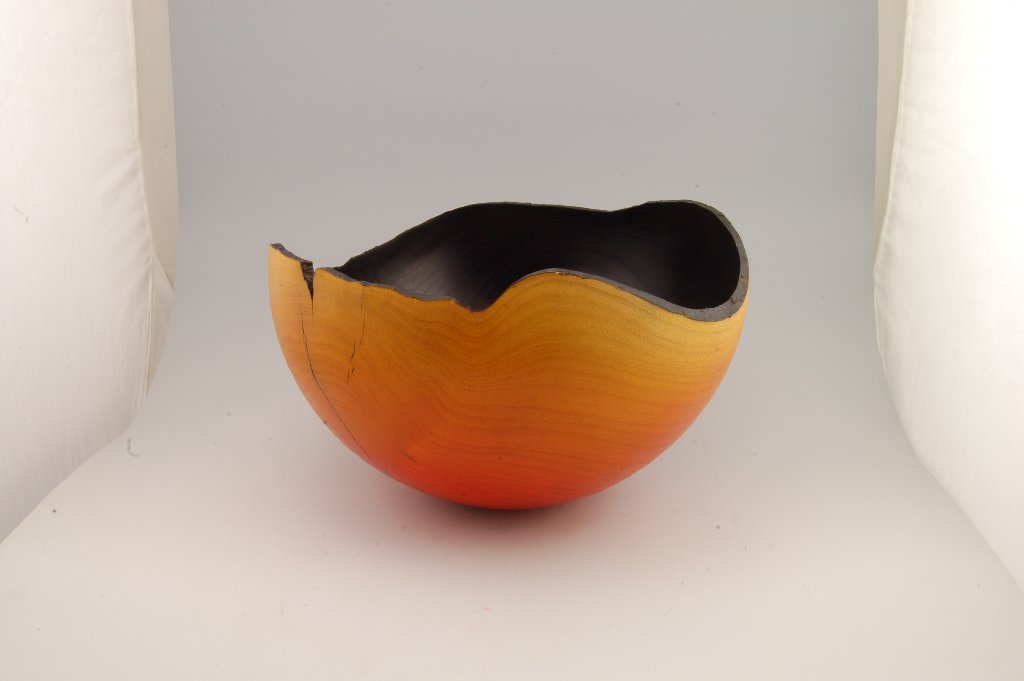
Hard to pick a favorite view..
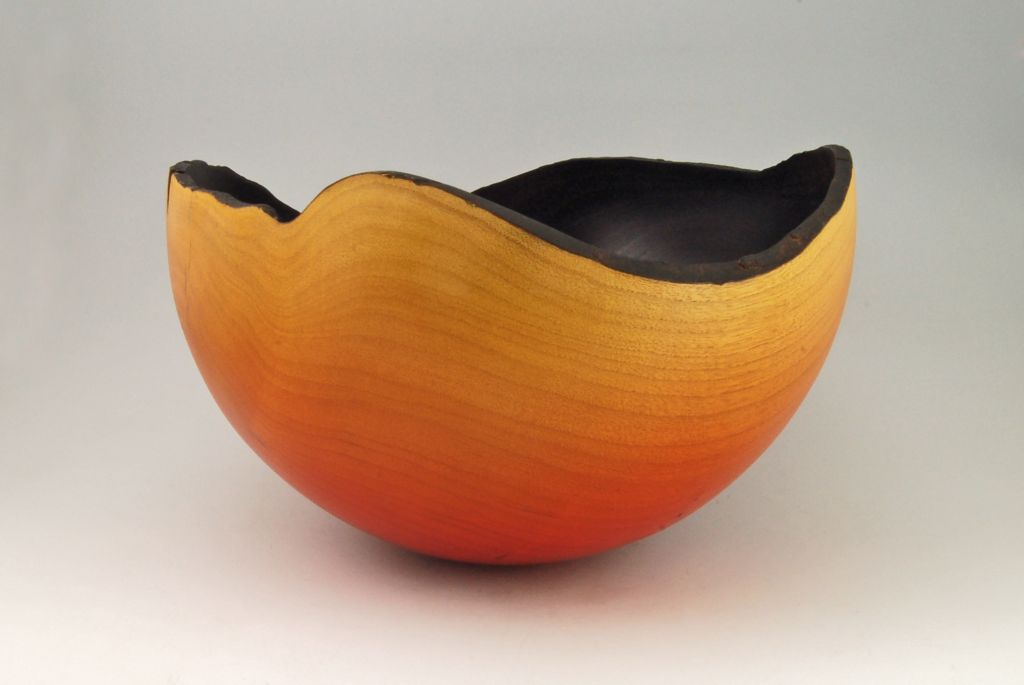
You can still see the wood grain on the inside, despite the heavy black dye job…
And that’s the story…Happy October!


 I guess cryo treated powdered metal is harder than 30 year old nails.