Page 4
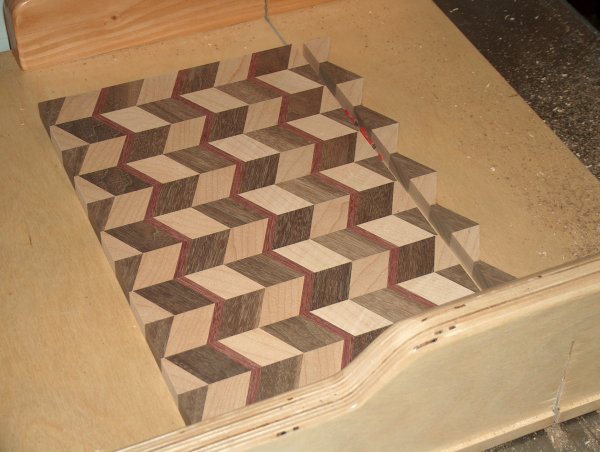
When it comes to finishing up the board, the sky's the limit. You can wrap it in a thin frame, put thick borders on the edges only, leave the edges as-is, and lots of other possibilities. For this board I decided to "frame" it in 1/4" purple heart — the same material used for the narrow stripes.
Where or how you trim the edges isn't really critical, but I like to be sure I keep things symmetrical if possible. First, I needed a square edge to frame, so it's back to the crosscut sled.
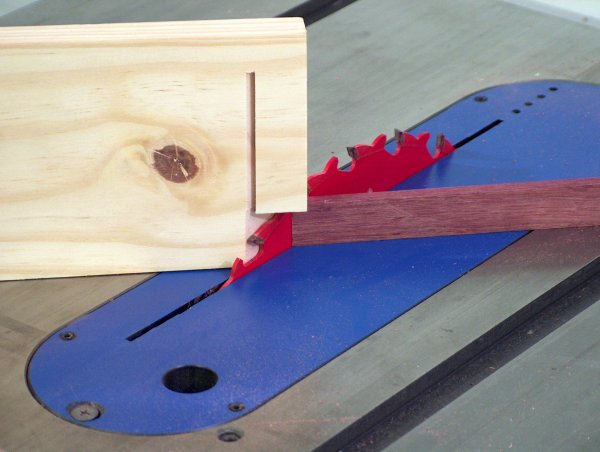
Then to the miter gauge to cut the frame pieces...
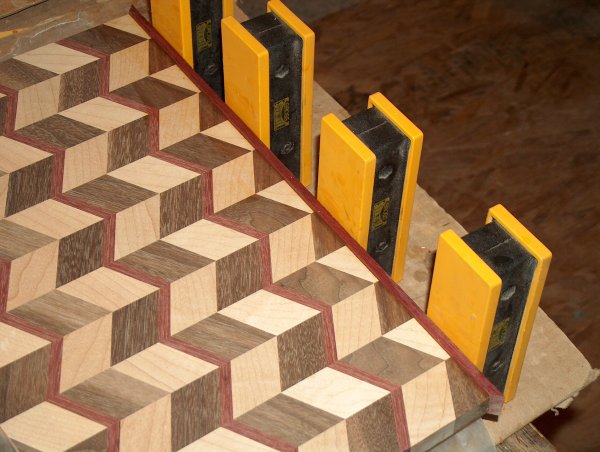
Then gluing the trim on...
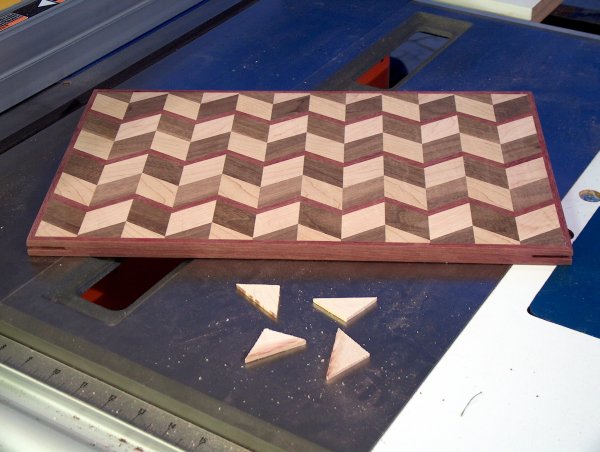
Then cutting feather splines in the corners (primarily just for looks)...
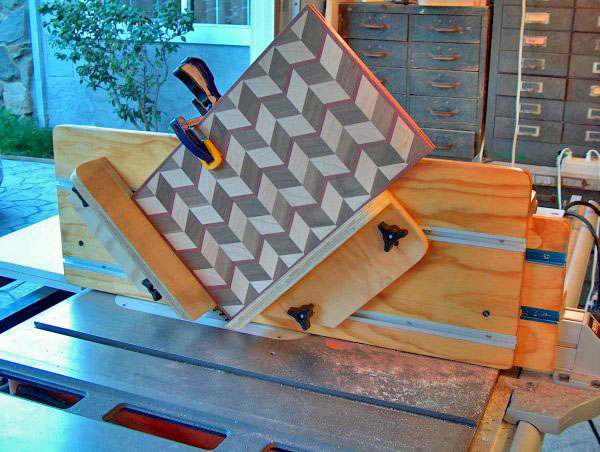
This jig holds the board and runs it safely across the saw blade to cut slots for the feather splines. Here's a shot of the boards and loose splines.
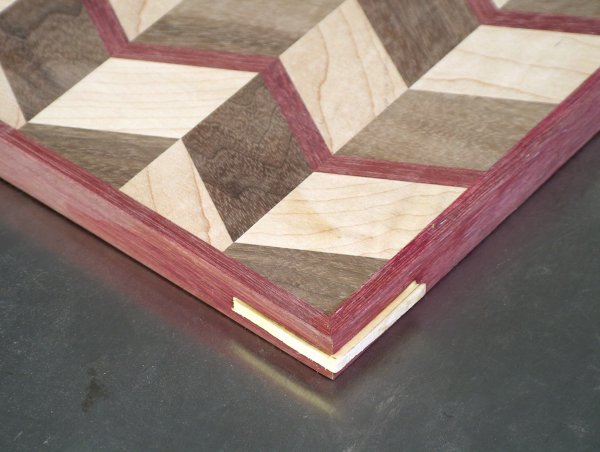
And a look at one of splines, glued in but not yet trimmed...
Time to start the finish...