Hot Rodding a Harbor Freight Dust Collector
In the spring of 2007 I purchased the Harbor Freight 2hp dust collector. Based on what I’ve read on various forums, this is one of those HF tools that is worth owning, especially with a few modifications. The day after I got the DC, I ordered the filter cartridge kit from Wynn Environmental. I also knew from my research that a neutral vane was recommended, especially when using a filter cartridge, to keep the bigger particles out of the filter itself. I picked up a couple other modification tricks on the Internet as well.
When my filter cartridge arrived, it was time to ‘hot rod’ the new DC. To do this, I removed the middle ring section of the DC. Here’s what it looked like at the start of the evening. Keep in mind the ring is upside down in these shots. (Click on any of the thumbnail pictures below to see a larger version in a new window.)
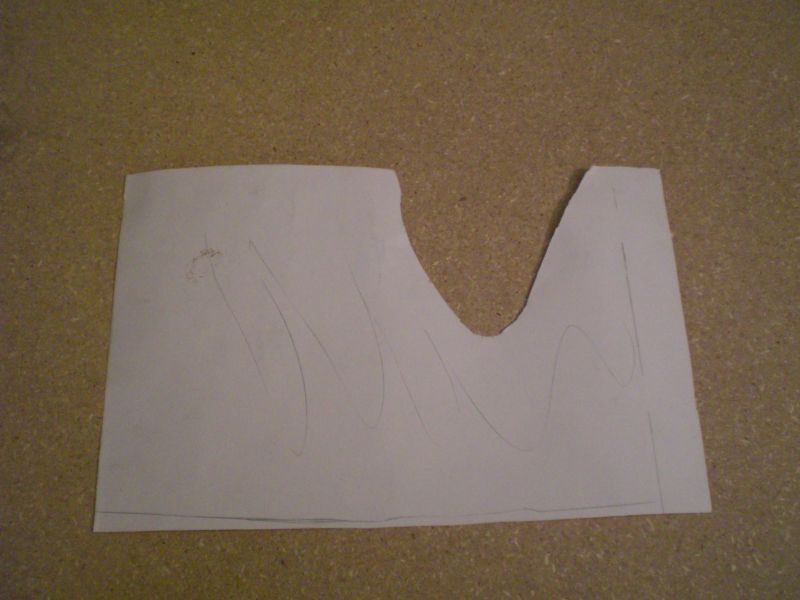
First order of the evening was to build the neutral vane. This is intended to keep the circulating air from disrupting the incoming airstream. It’s essentially an extension of the inlet tube, with the bottom trimmed a bit to conform to the sloped inner ring of the DC. I played around with a piece of heavy paper stock, and came up with this as a pattern:
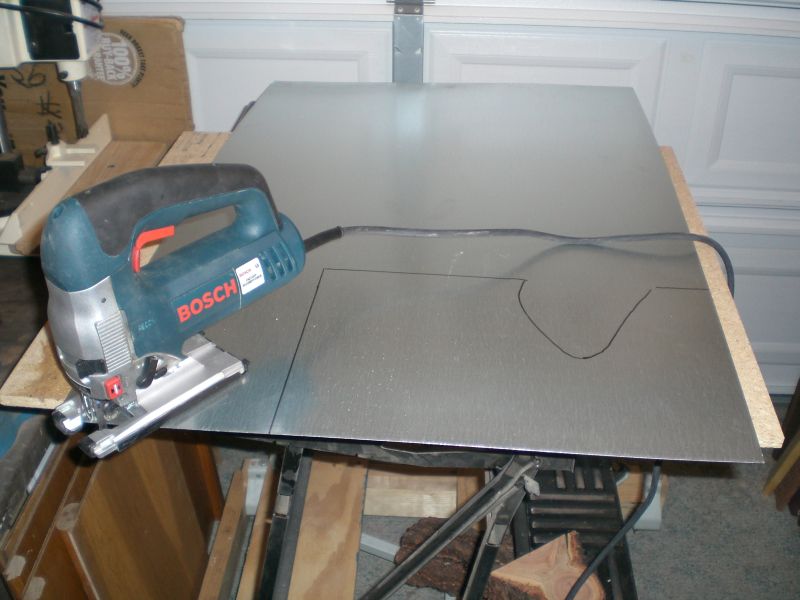
Transferred onto my brand-new piece of galvanized sheet steel from the ductwork aisle at Lowe’s, and ready to cut out with the jigsaw:
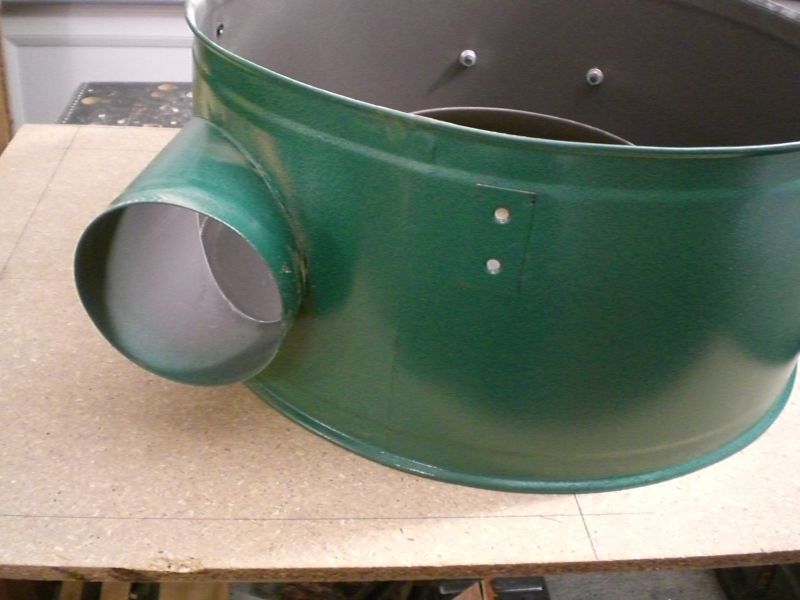
After a bit of bending, trial, error, and pop rivets, it came out like this: (Unfortunately, I didn’t take any progress pics of this part):
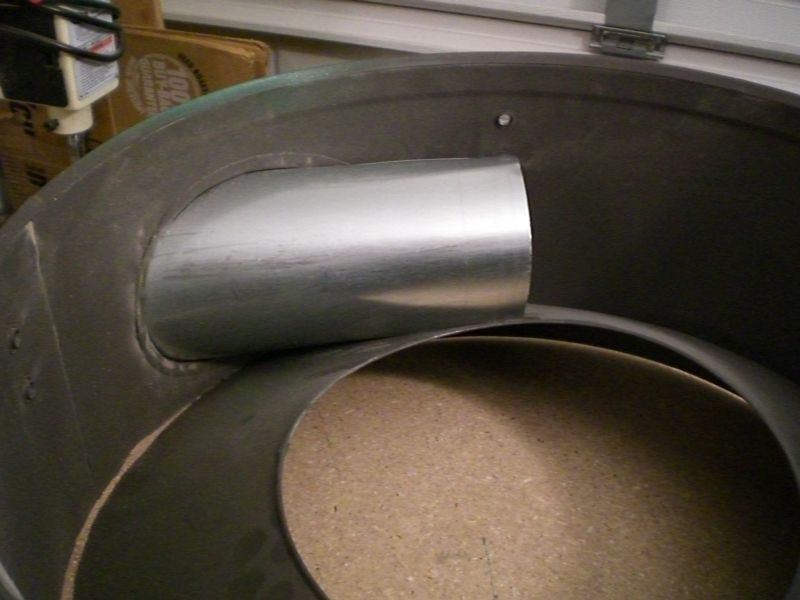
As you can see, I’m not real skilled when it comes to sheet metal work, but it’s functional. The final fit was very tight, so the neutral vane is not physically attached to the DC. The friction fit will more than suffice.
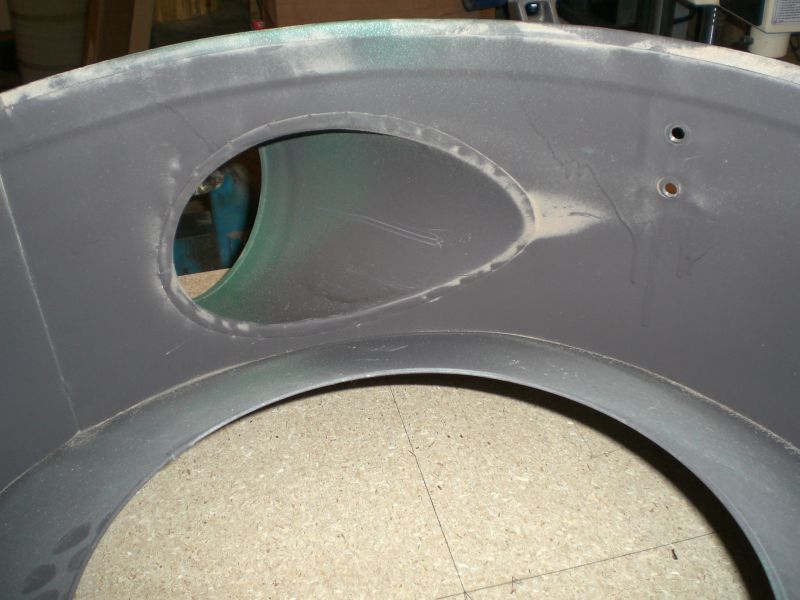
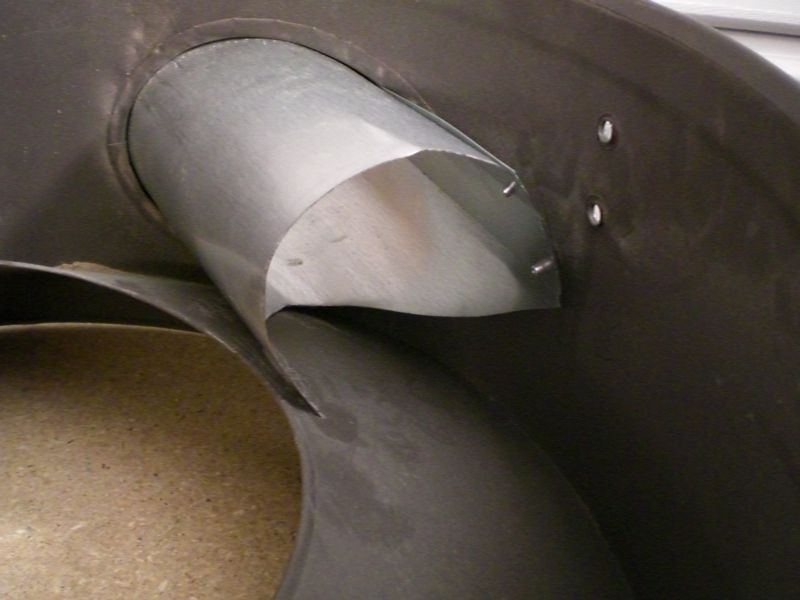
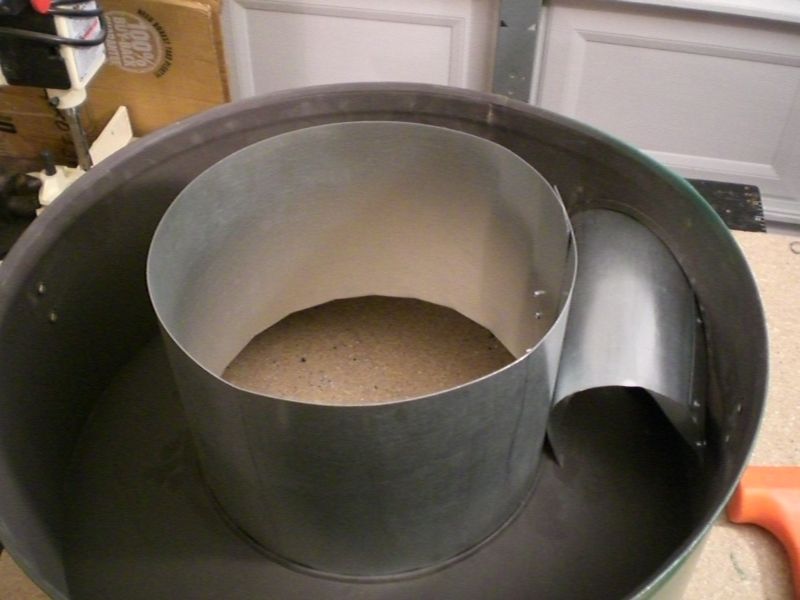
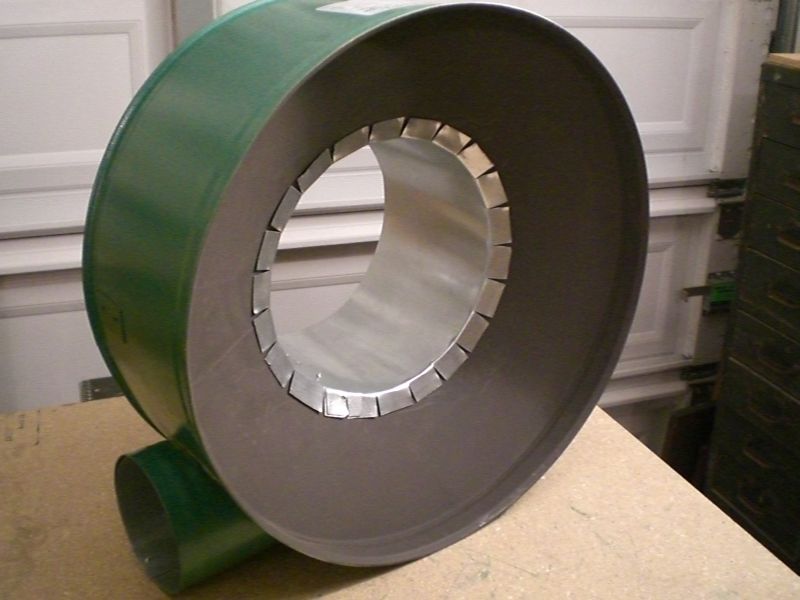
Next up was an inner ‘collar’ (for lack of a better term) in an attempt to keep the big particles in the lower half of the DC. (Note: See the update at the bottom of this page for more info on the collar. Bottom line: it makes things worse.) I don’t recall whose website I gleaned this idea from, but whoever he is, he deserves the credit for the basic idea. The collar is nothing more than a sheet metal tube that extends the ‘lip’ of the inner ring down 8” or so into the lower collection bag. Here again, it was a very tight finish, so friction is the only fastener used. (Good thing, too, because I ultimately discovered the collar worsened the performance of the DC. See the update farther down on this page.) The last of these pics shows one of the three holes I drilled into the collar to accept the turnbuckles supplied with the Wynn filter to attach it to the DC ring.
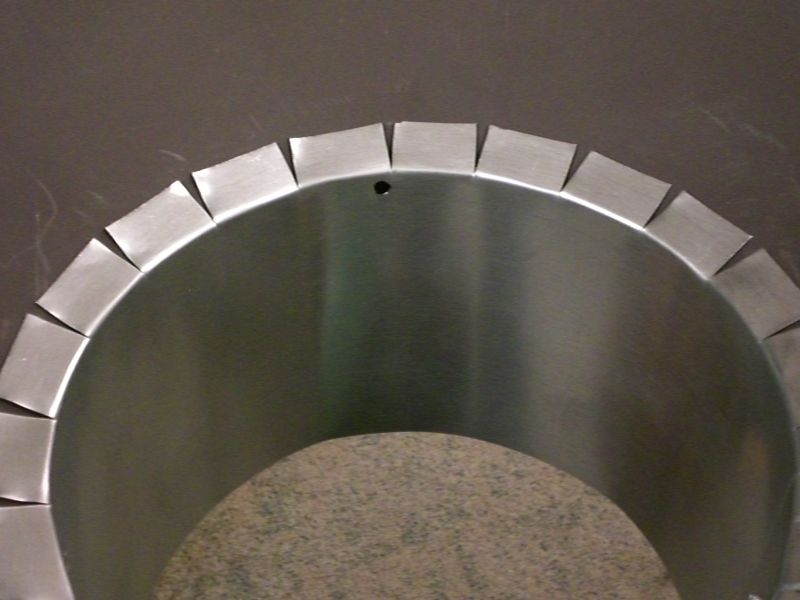
The filter cartridge itself attaches with three turnbuckle screws. These turnbuckles have a hook at each end…one to catch the inside lip of the filter, and the other to hook onto the DC ring (or in my case, the holes I drilled into the collar right below the edge of the DC ring). I had to hold the camera up inside the DC a bit to get this pic, but here’s a shot of one of the turnbuckles after installing it:

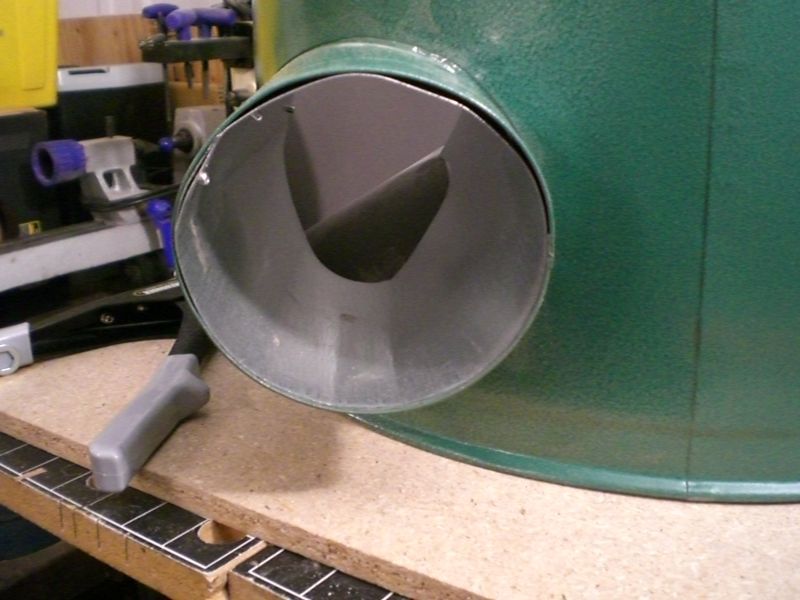
Last on my laundry list was to remove the ‘crosshairs’ that are built into the inlet of the DC. I’ve already learned that long wet curlies from the lathe will clog this inlet in a heartbeat. I’d read of other folks removing the crosshairs to handle this problem, so while it was all apart and the jigsaw was handy with a metal-cutting blade, I removed it. Here are the before and after shots. (The eagle-eye folks will see that I was almost done cutting it out when I remembered to shoot the ‘before’ pic.)
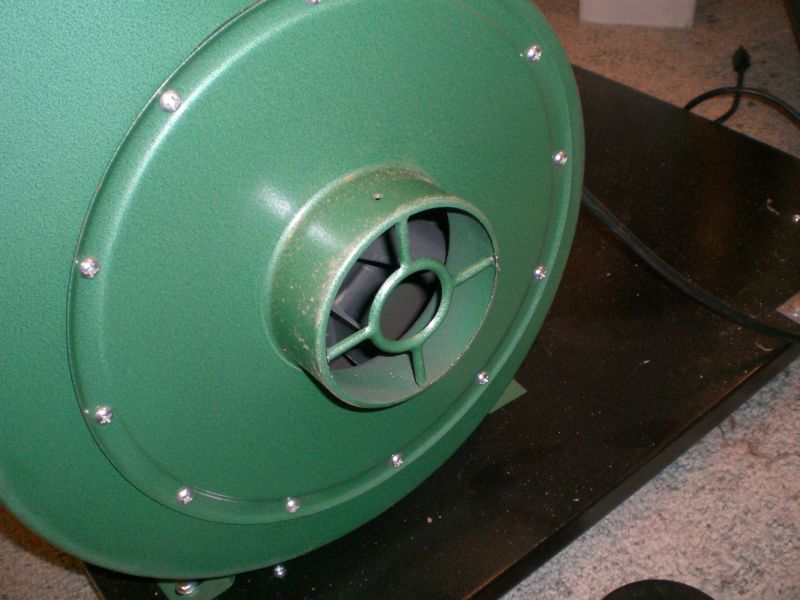

Finally, I added the lower bag and fired ‘er up. Here’s the finished product:

Although I didn’t do any real evaluative tests before or after, I can say the end result seems to have worked out very nicely. My only “testing” was to toss in a bunch of 1/4“ square pieces of paper, and the cyclonic action inside the lower bag definitely keeps all the paper bits swirling in the bottom of the collection bag.
Not wanting to leave
well enough alone, and since it seems
like nearly everybody and their mother has a green Harbor Freight dust
collector, I figured I needed to break the mold. And after telling my friend Stu he
needed to paint his new old drill press purple, I figured I should put up or
shut up. And lastly, since I'm sometimes stranger than a seven-sided cube, I
present...
The Hoover Wood-O-Matic:
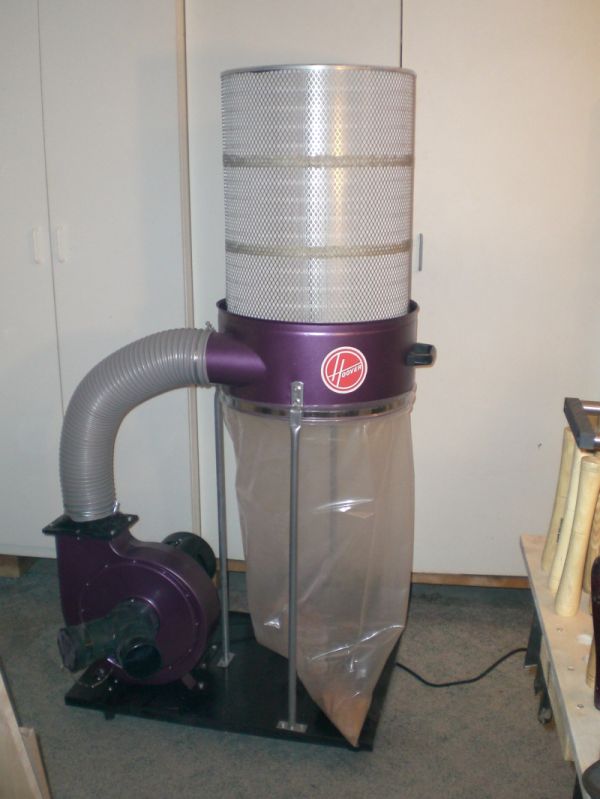
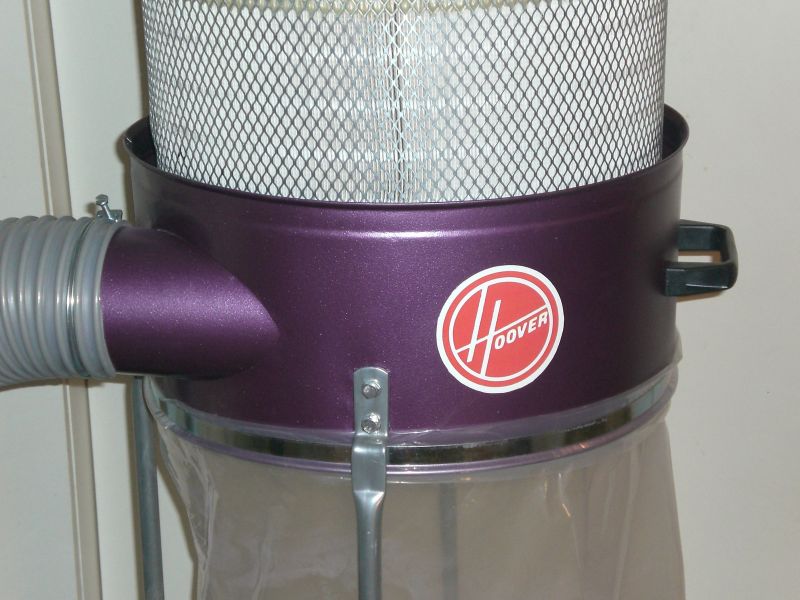
It wasn't easy finding purple metallic Rustoleum spray paint, but I did it. The logos on each side are inkjet printed labels stuck on magnetic sign material, so I can change brands at a moment's notice. They really don't have jagged edges...that's a glitch in the photo.
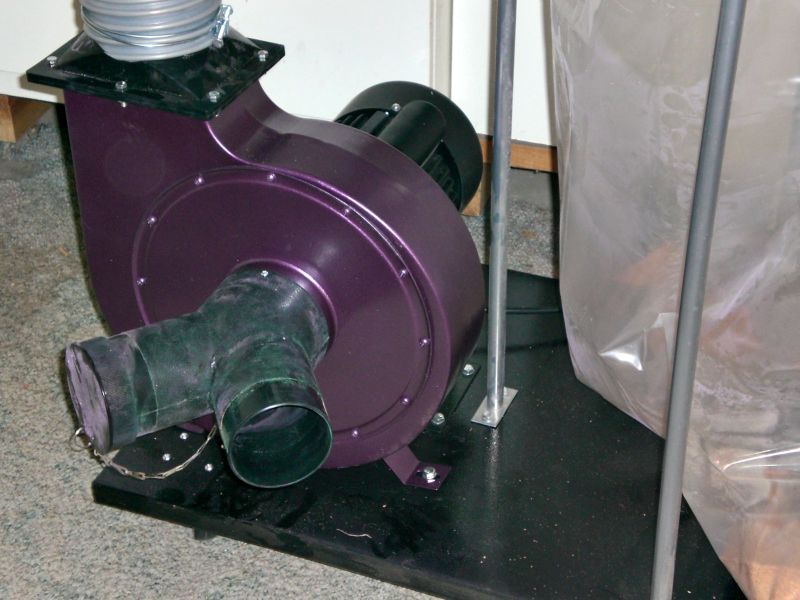
I disassembled the DC for painting, and did the separator ring and blower housing in purple. I painted the motor mount (not visible in the pics) with black crinkle paint to match the motor and base. I don't often have this much fun for the cost of a can of spray paint. (It may just be the paint fumes talkin', too.)
While I had everything apart, I also lined the inside of the filter with screen, hopefully to keep any stray chips from sticking in the filter or poking any holes. So I really did do some modifications. (Note: The screen was not a good idea. See the updates below.)
UPDATE:
After getting my ductwork hooked up and using the DC a bit, I discovered that quite a bit of the larger chips were indeed getting blown up into the filter, something I didn't want. I suspected it might be because of the collar, and since it was easily removable, I tried it with and without the collar. Without a doubt, the collarless version had substantially fewer chips falling out of the filter after shutting off the DC, so I suspect fewer chips are being blown up in the filter in the first place. I shot a quick video to prove the point.
Another Update:
I discovered fairly early on that the screen material that I added on the inside of the filter was a bad idea. It trapped dust and smaller chips between the filter and the screen itself. Definitely not the results I was looking for.
And Yet Another Update:
I made another modification to the dust collector, and it's been the best yet (aside from the 0.5 micron filter). I added a 'Thien Baffle' below the inlet ring, and it has made a tremendous reduction in the amount of material getting pulled up into the filter.
Until I get the time to add a new page here to document the process, you can read about it on Phil Thien's forum.