The Oriental Padauk Box
OK, this box is about as oriental as I am, but it still has somewhat of an oriental feel, so that's the name it got.
After more than enough trials and tribulation,
I’ve completed my next box. This one is padauk, with a canary wood knob on
top. It’s another box-jointed and coved experiment, except I took the coved
theme into the top as well. The finish is a combination of boiled linseed
oil, spray-can shellac, and so many coats of glossy Arm-R-Seal wipe on
finish I lost count…probably somewhere around 12 to 15 coats. I was going
for a very smooth, glossy finish with no perceptible wood pores. I plan to
buff it out a bit more in a few weeks after things have fully cured, but I
didn’t want to wait to share, so here are some pics:
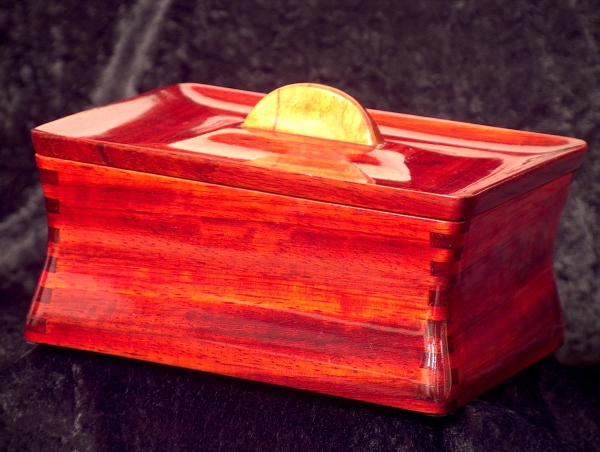
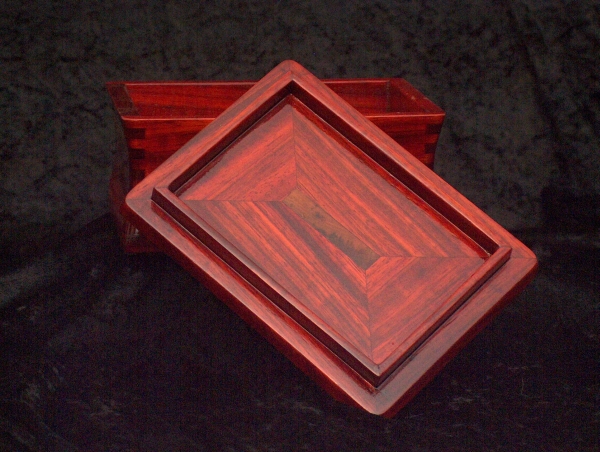
Here’s the basic box shot. It’s about 7.5” long by 6” wide, and about 3.5”
tall.
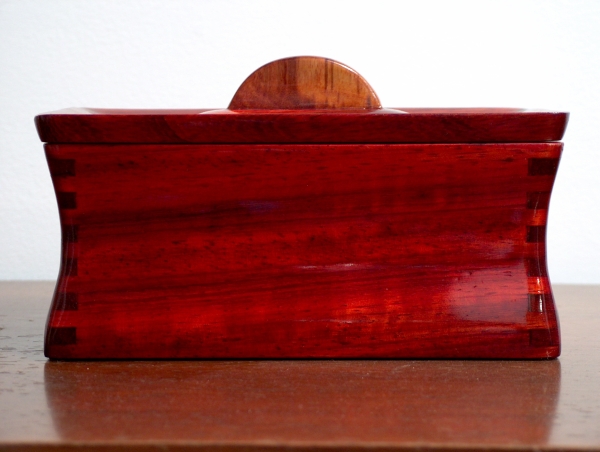
Here’s another showing the profile of the sides and how the top carries the
line beyond the edge of the sides:
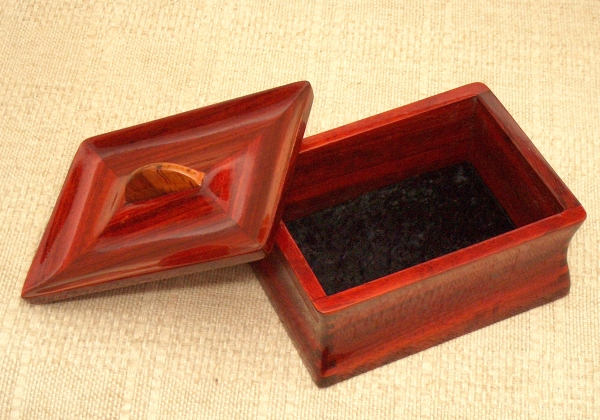
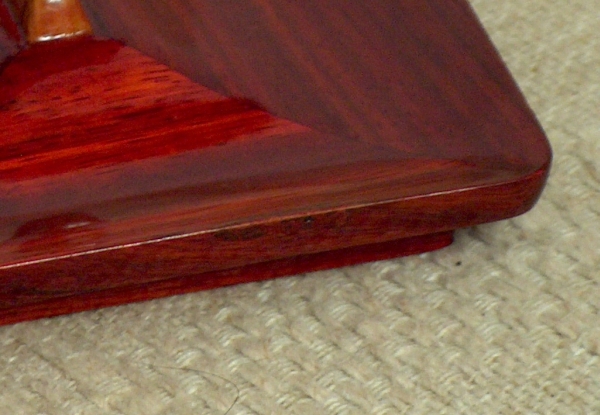
The bottom is lined with crushed black velvet, and this shot shows the
sculpting of the top. (Forgive the reflection of the upholstery on the side
of the box…it’s what I get for using the couch as a backdrop.):
I coved the box sides after it was assembled, and while I had the saw set
up, I coved a few more feet of material to make the top. The top is simply
four pieces mitered together, with a hole left in the middle for the canary
wood knob. The grain in this particular hunk of padauk was running
diagonally to the edges, so the four pieces of the top make somewhat of a
spiral:
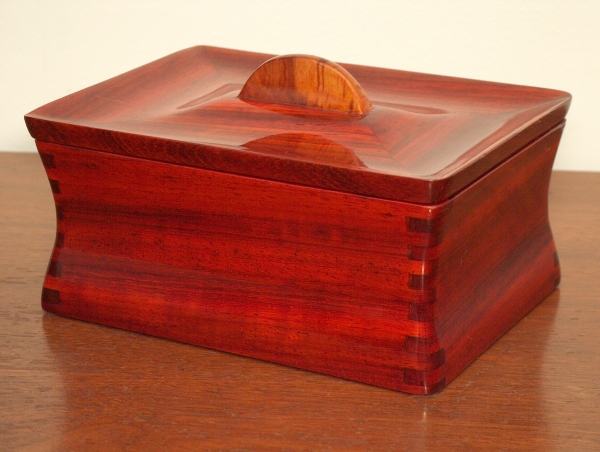
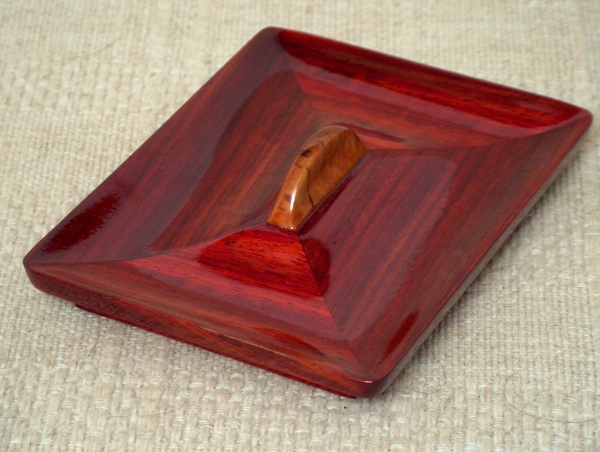
And, one more of the top by itself. This sort of shows the way the knob was
sculpted with a Dremel and lots of sanding. It feels nice in your fingers. I
also want to call your attention to the edge of the lid in the lower portion
of the picture:
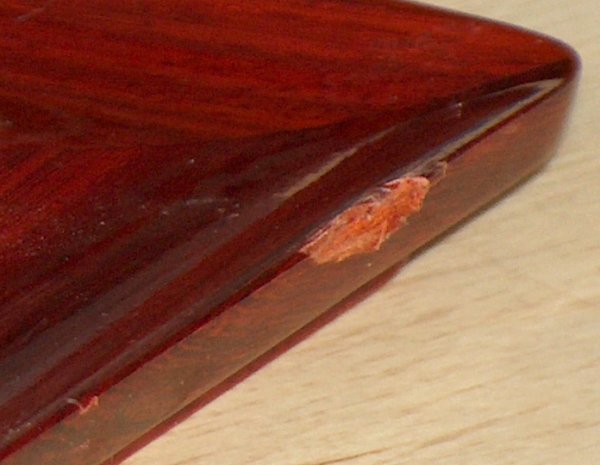
Now the fun part of my story…a couple weeks before these pictures were
taken, I was almost finished with the box (just needed to install the
bottom), when a chunk of wood fell off a high shelf in the shop and landed
right on the lid. It took an ugly bite out of the edge:
I was crushed worse than the box. After a lot of hours working on it, I
didn’t want to toss it on the scrap pile, but I couldn’t sand out the
blemish without losing the nice edge profile I’d worked so hard to achieve.
After a bit of pondering at the local hardware store, I ended up getting
some stainable epoxy "wood" putty. I mixed the putty with some padauk
sawdust, and using a red oak stain marker pen and brown, red and orange
Sharpie pens, I hid the blemish pretty well, especially when it was covered
with several more coats of Arm-R-Seal. In some lighting conditions, you can
see the patch, but most of the time it’s virtually invisible unless you know
where to look:
All in all, I’m pretty happy with the way this one came out. Pardon the poor
lighting on this last shot.