From Roots to a Bowl
[Note: Although this is one of my earlier 'root bowl' projects, it makes for an interesting story. Since this pictorial was done, I've turned several other pieces from various tree roots. I've also had some major upgrades in equipment...the old Sears lathe was passed along to new turner long ago.]
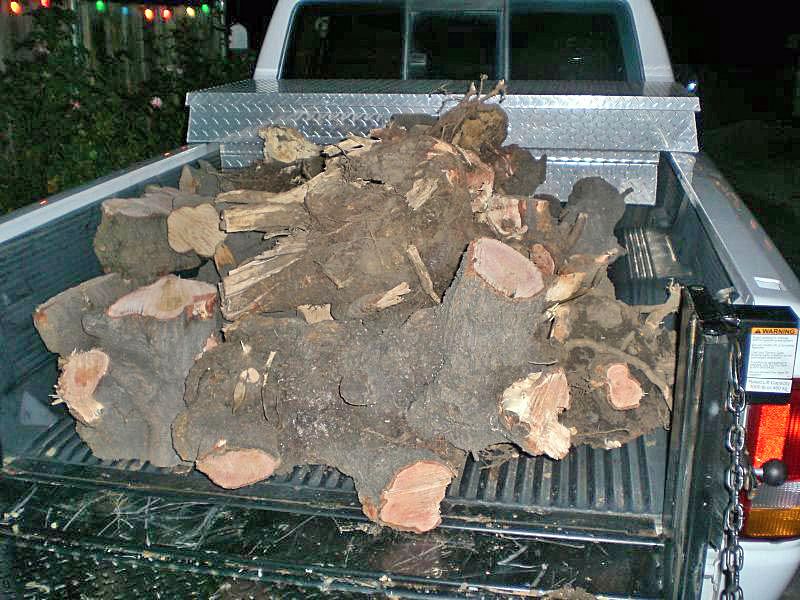
A while back, the Facilities Manager at my office had some long-overgrown shrubbery up-rooted and removed. Being a woodturner, I simply had to see what might be inside some of the bigger pieces of this soon-to-be mulch, so I got permission to take home as much of it as I wanted. Here's a nighttime shot of the truckload I brought home. I cut the wood up after dark at the office...it made it more exciting being able to see the sparks from the chain saw hitting dirt and rocks.
Although my first inclination was that this was some type of Dunno wood, I later determined that it was likely Myoporum, an ornamental, yet invasive exotic shrub from New Zealand. Science lesson over, it was time to try some of this wood out. After several months of procrastination, I finally got one of the root balls cleaned up and ready to try turning. (Thank goodness for pressure washers.) Sorry for the snapshot nature of these pictures.

When I "harvested" the wood, I painted the freshly-cut ends to seal them in hopes of preventing cracks from drying. That explains the white part in this shot...
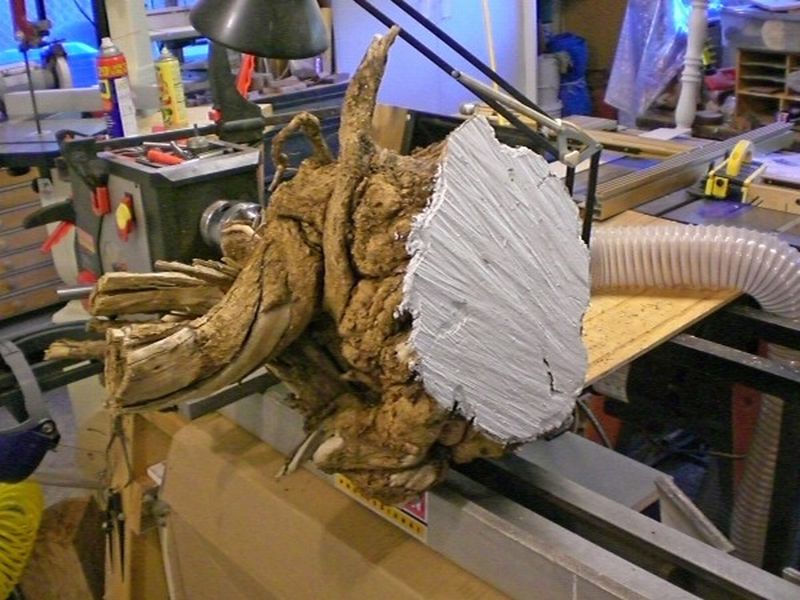
Since that hunk of wood obviously wasn't going to spin real well on my lathe, I did a little chainsaw refinement to get it to a bit more manageable size.

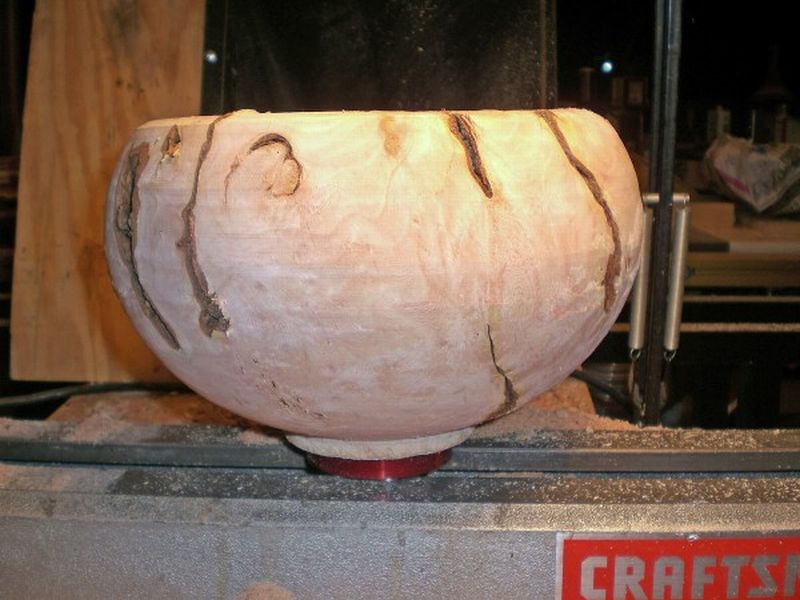
And the white side, with the lathe faceplate attached. (You can see the Hoover Suck-O-Matic dust collector in the background. Click here to see that story.)
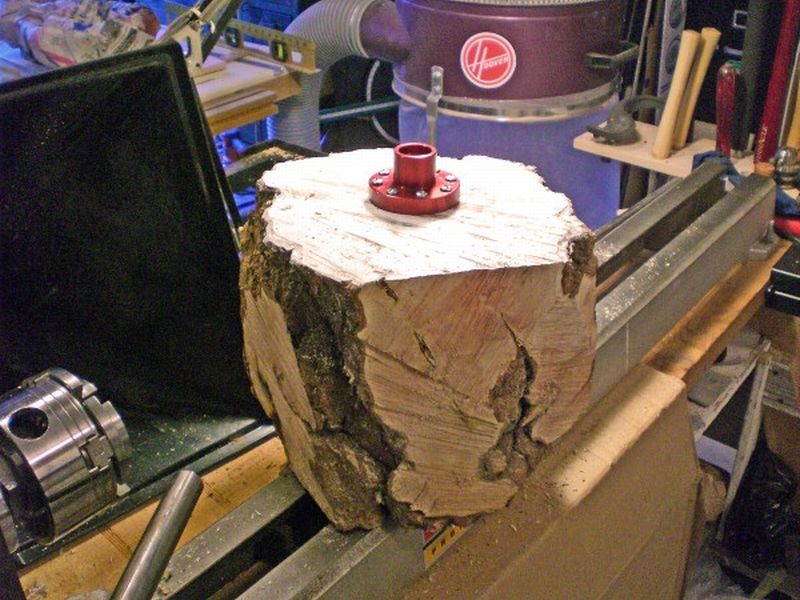
For those of you unfamiliar with woodturning, the red faceplate allows the hunk of wood to be attached to the spindle (the spinny part) of the lathe. It looks something like this once it's attached. For those of you who are familiar with turning, you'll note that I don't really have anything solid to turn down to a tenon on side the opposite the faceplate. This will be strictly a faceplate bowl...no chuck. I'll turn off the foot where the faceplate is later.
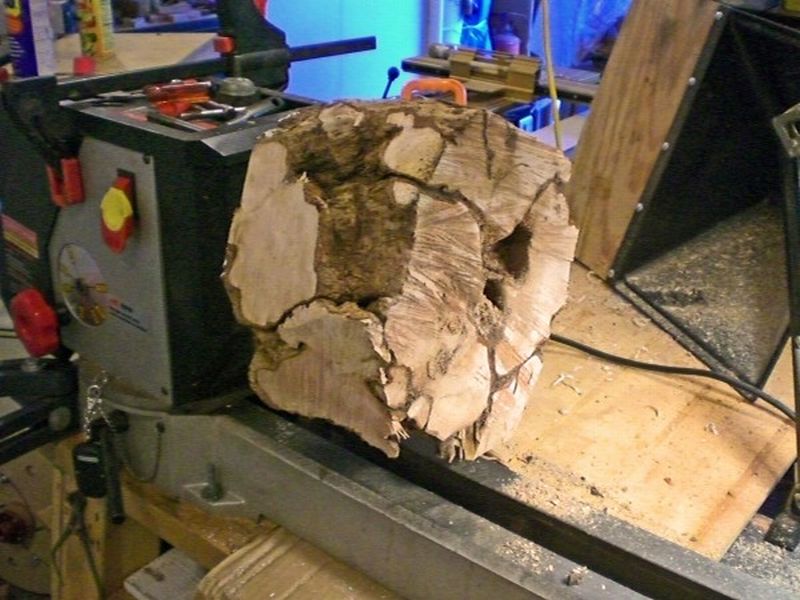
It's quite a blur when it's spinning at 400 or so RPM...
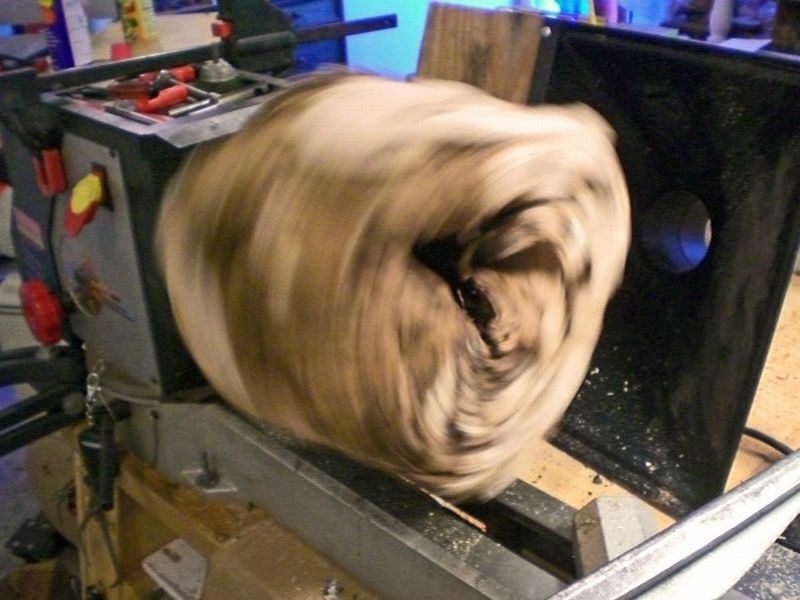
About 20 minutes of beating later, it was round-shaped and looking like this...
That long black and silver tool is from Monster Tools, and they call it the Monster Indexer with Handle. I call it the Beatin' Stick. It's a very versatile tool, and by far the beefiest "chisel" I have for this type of work. It accepts a range of steel cutting bits. For roughing out this hunk of wood, I attached a 3/8" bit that originally came with my hollowing tools (also from Monster Tools).
Another 20 minutes or so later, it's still rough, but it's starting to resemble the intended outside shape...
Next, it was time to attack the inside. Let the beatings resume...
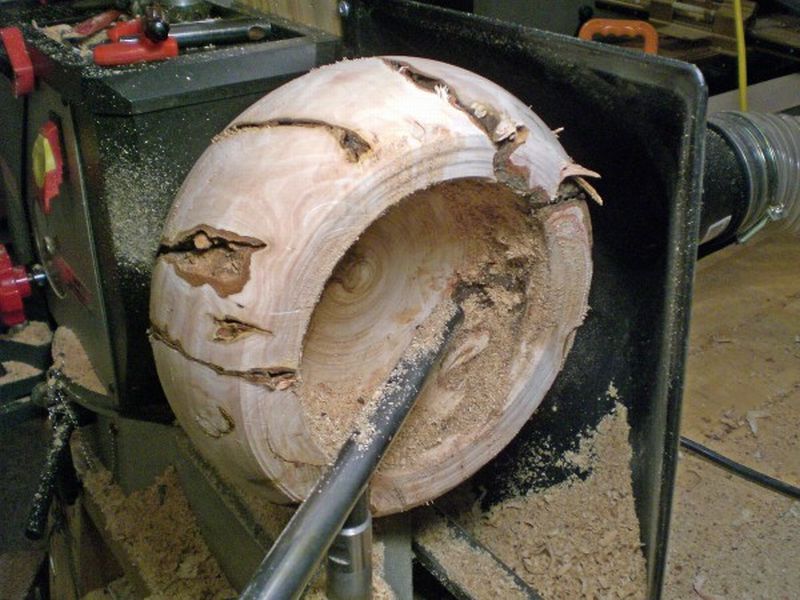
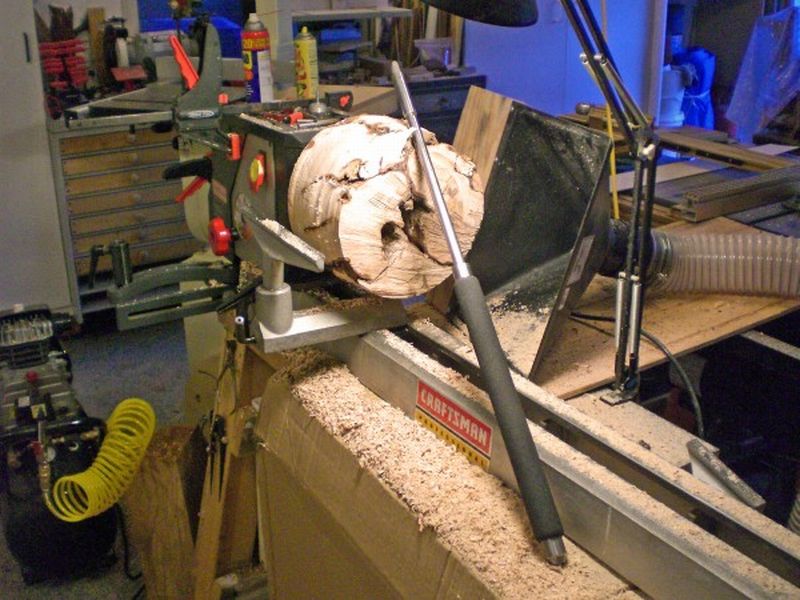
That's about as deep as I cared to go using handheld cutting tools. It was time to break out the "captive" tool. a.k.a. the hollowing rig. This tool is designed to safely make hollow forms. It holds the cutting tool in such a way as to prevent it from being wrenched from your hands and hurtled at the ceiling (or your face) when the steel meets the spinning wood, now traveling at about 800 to 1,000 RPM. Although purists would argue that using a hollowing rig to make a bowl is a sacrilege, but I never really was one for rules, so I figure if I've got a tool to make something easier and safer, I'll use it.
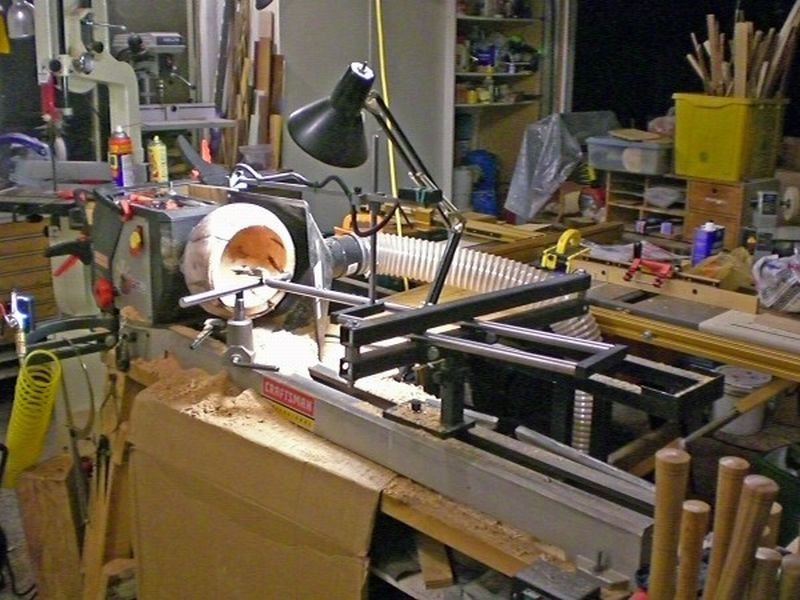
Although it's hard to make out the details with the cluttered background in the picture above, the hollowing rig consists of a "handle" that's captured by the rear tool rest to prevent it from twisting. Attached to the end of the handle is the cutting bit. Also attached to the handle is an adjustable laser pointer that is set to indicate (on the outside of the piece) exactly where the tip of the cutting tool is (on the inside of the piece). This is very useful when working blind while hollowing out a piece of wood. In the case of this bowl, the laser was not really necessary, but it did help me know how deep the inside of the bowl was in relation to the outside.
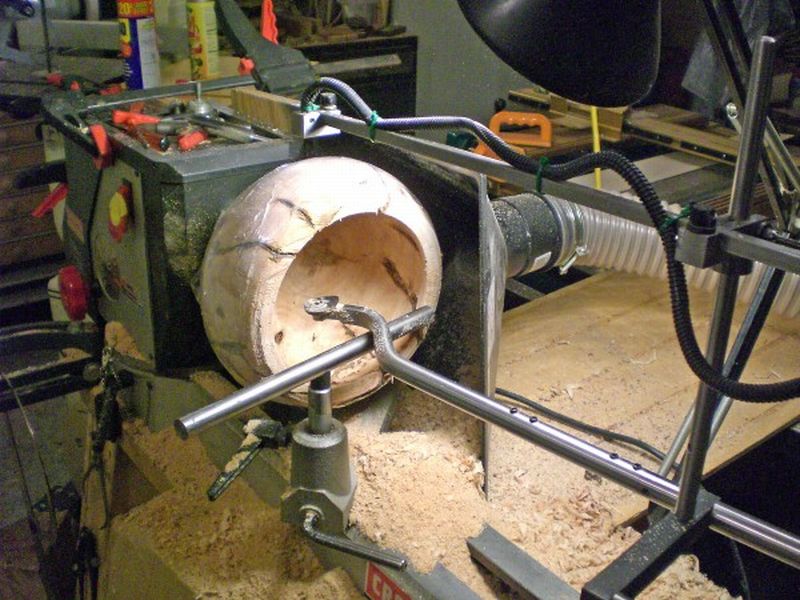
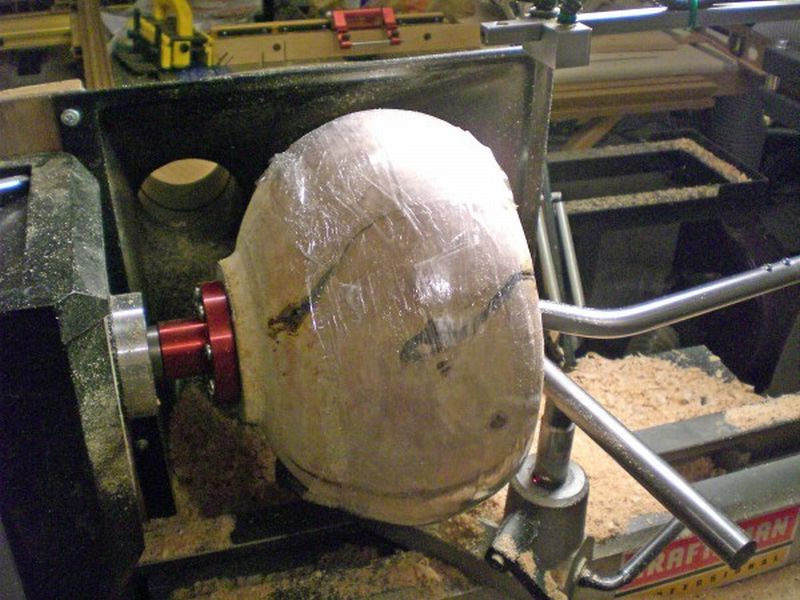
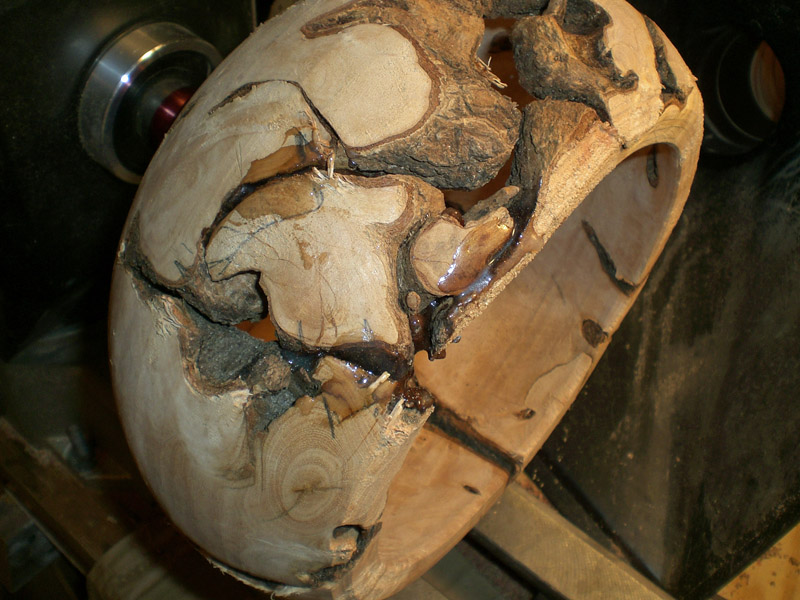
By the time I took the previous two pictures, as well as the next one, I had progressed through a couple different cutting tools attached to the hollowing rig, ending up with a scraping tool to leave a relatively smooth finish. Also by now, some of the pieces of the root ball were loose and threatening to come flying off. (In fact, one piece was fully removable). As a self-preservation move, I wrapped the outside of the bowl with plastic stretch wrap, to contain any shrapnel.
A little more cleanup on the inside, and the "rough" turning was done. If you look closely, you can see some very promising swirly wood grain patterns. Until the wood dries, it's common to leave the walls pretty thick. Then, after the drying (and any warping) is done, the piece is mounted on the lathe again and turned to the final dimensions.
This one will be a real challenge to finish up, but it should be pretty remarkable if it survives the ride.
I'll show the final results (whatever they are) in a month or so after the wood is dried. First, a day or two of soaking in denatured alcohol, then about 3 weeks or so wrapped in newspaper. (With a lock of hair, a bleached chicken bone, and the ash from a burned comic book. We woodturners are an eccentric, superstitious bunch.) J
Stay tuned!...
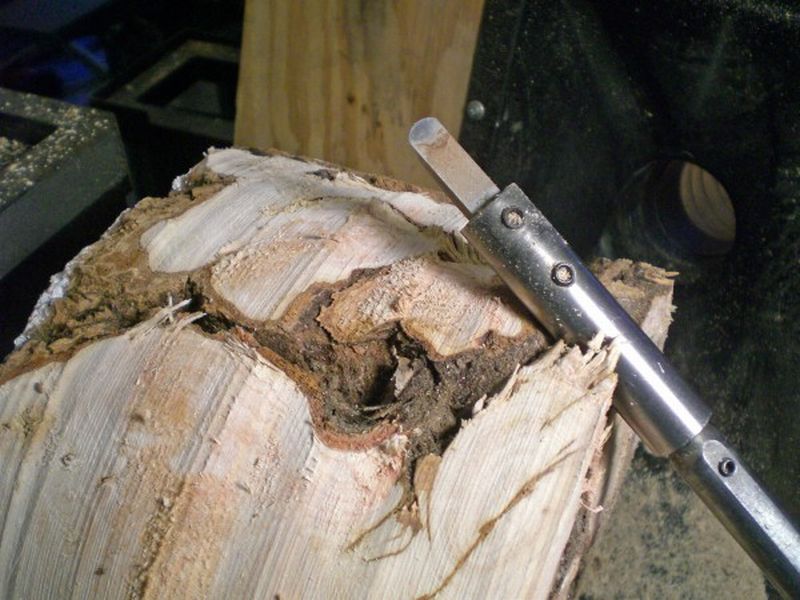
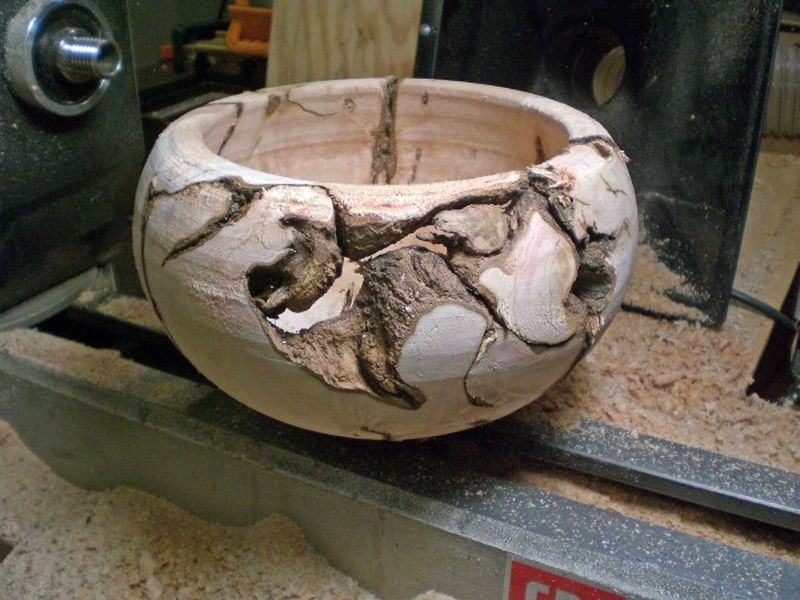
...OK, I'm back. It's about 3 weeks later, and I thought I'd share the final results. After the bowl had dried, it went back on the lathe for final shaping and sanding. But before I could spin it up, I had a little matter to handle first — the one piece that became detached when I was rough turning it. I glued it back in place with epoxy and instant coffee, then cleaned up any visible glue with a Dremel. Here's a shot before the clean-up:
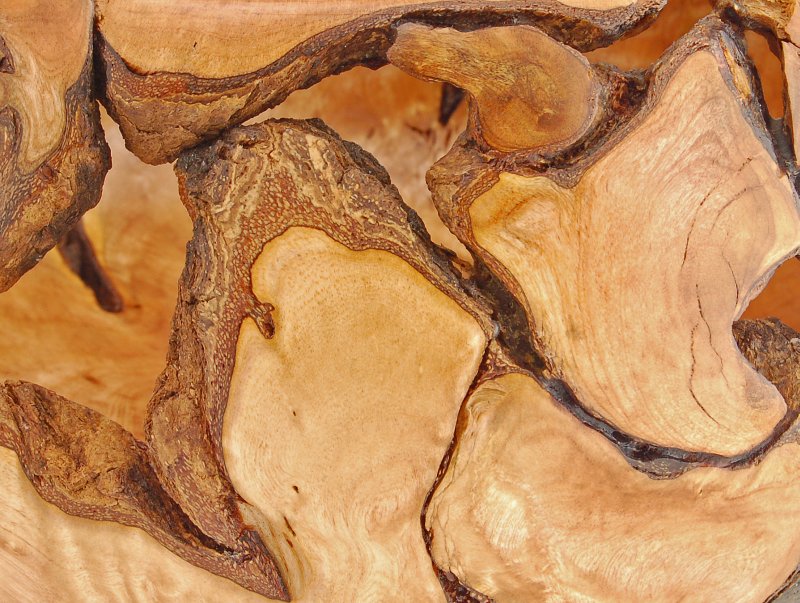
Here's a close-up of the glued piece after it was finished:
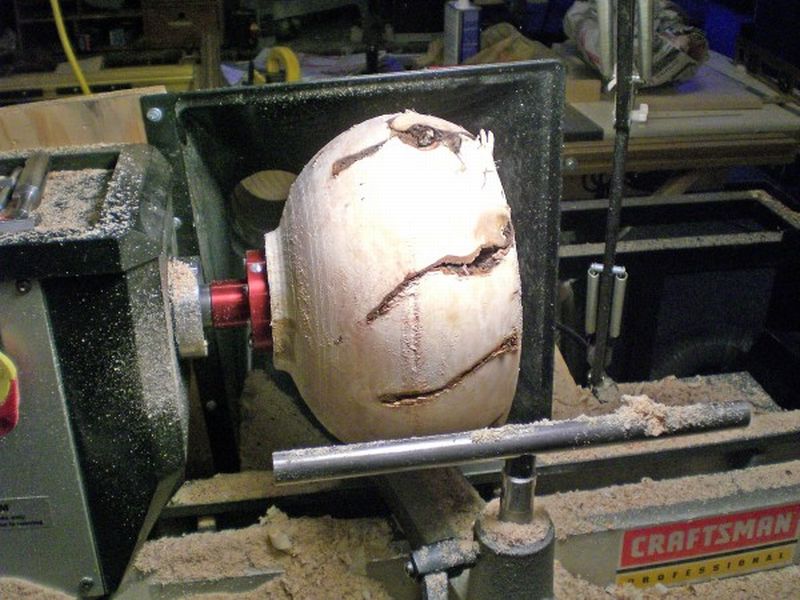
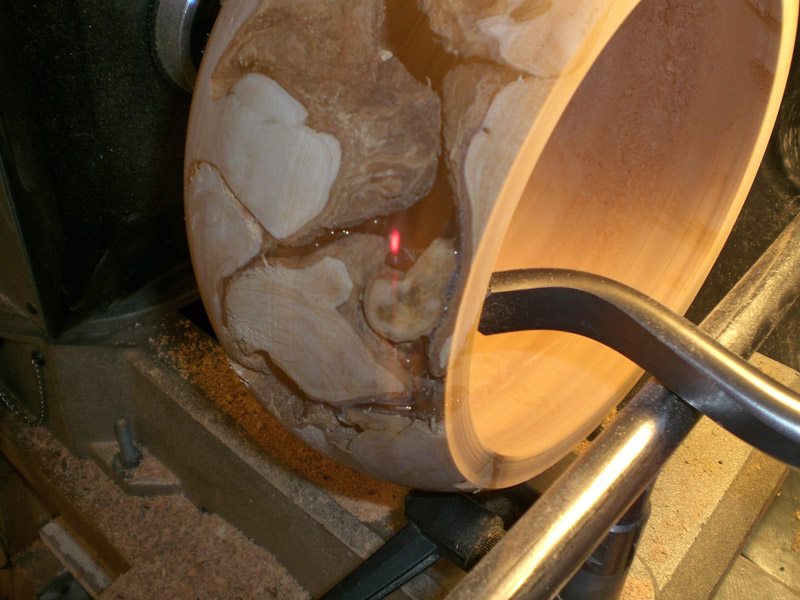
Here's how it looked as I did the final shaping on the inside of the bowl. It's difficult to tell from the picture, but the bowl is spinning at about 1,000 RPM in the picture. You can see the laser indicator showing where the cutting tool is, and properly set, it tells me when I've reached the intended wall thickness.
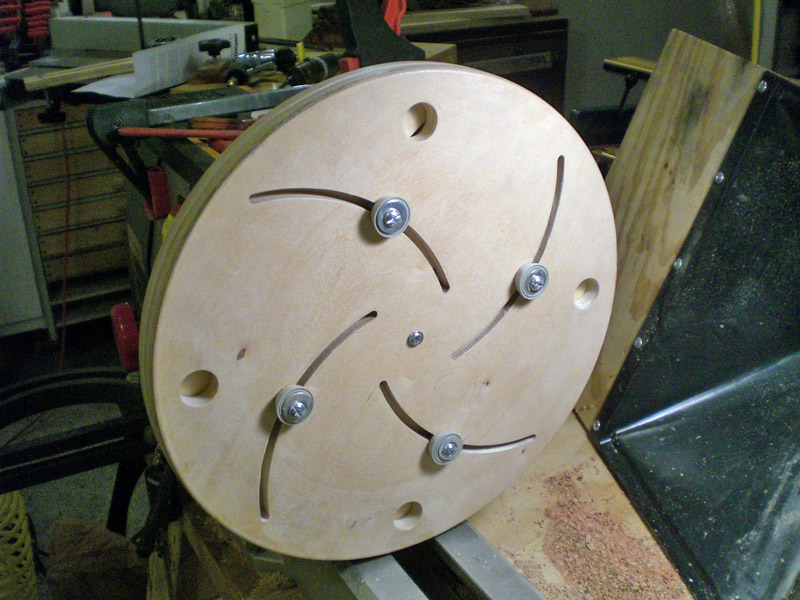
After shaping and sanding the inside, it was time to remove the bowl from the faceplate and finish the bottom of the bowl. To do this, I used a shop-made Longworth chuck. It consists of two plywood disks with opposing spiral slots. The rubber-tipped "jaws" of the chuck move in and out as the two plywood disks are rotated in opposite directions. Here's the chuck itself:
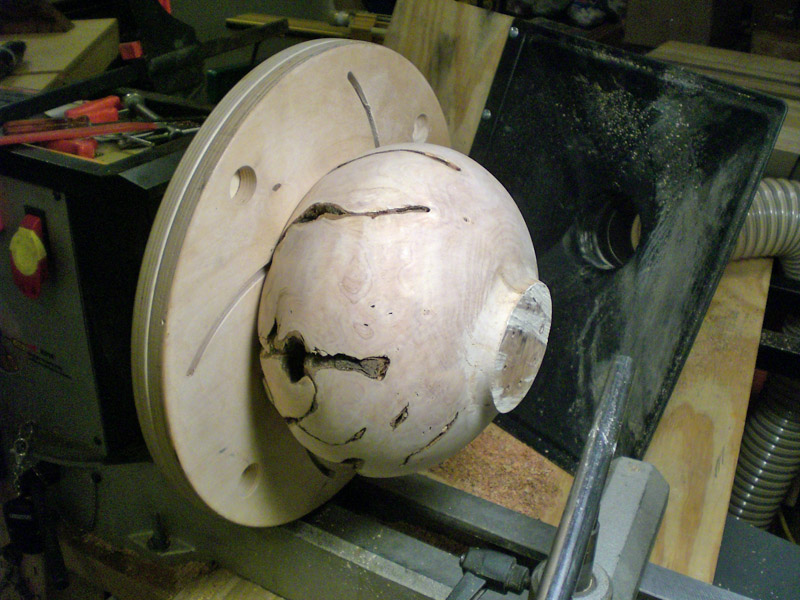
And here's the chuck with the bowl mounted:
Then after a bit of shaping, the bottom looked like this:
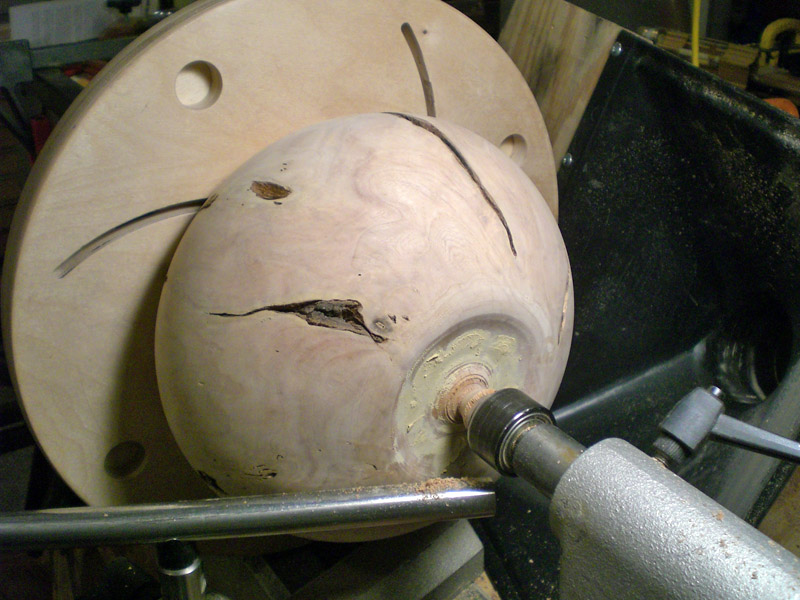
You'll notice the wood putty on the bottom, which was my first of several unacceptable attempts to cover the screw holes in the bottom of the bowl. I finally ended up cutting a groove where the screws were, and will be filling it with black epoxy. Not the most elegant fix, but it will work. Usually, I would turn away the foot of the bowl enough to simply remove the screw holes, but in the case of this piece, I used long screws, and the ends of the holes were dangerously close to the inside bottom of the bowl. If I had turned away the screw holes, I wouldn't have had enough wood left for a foot, and might have made the whole bowl into a large wooden donut.
It ended up about 9 1/2" wide x 5 1/2" tall. This wood dried pretty hard, and it was a bear to get sanded to my liking. (Way too much hand sanding, since I couldn't get my little 2" sander to a lot of the inside surfaces.) There's a lot of burl figure in the wood, and it is prone to showing scratches.
Since you've read this far, it's only fair to show you a few pictures of the finished product:
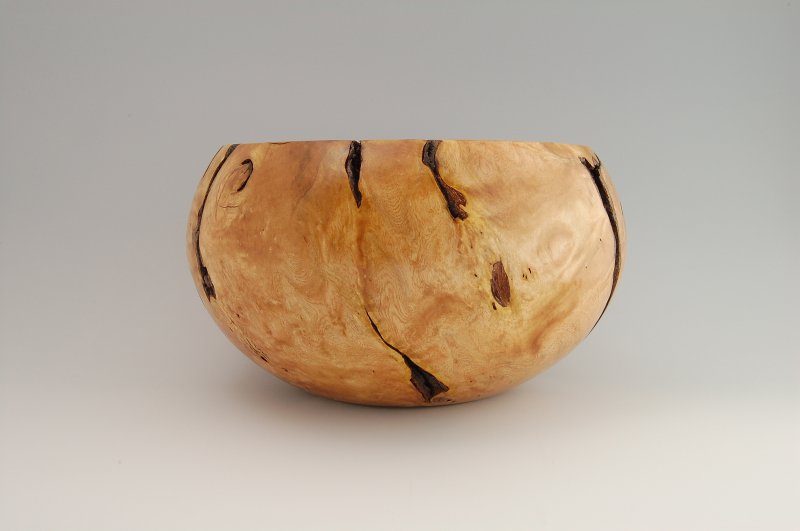
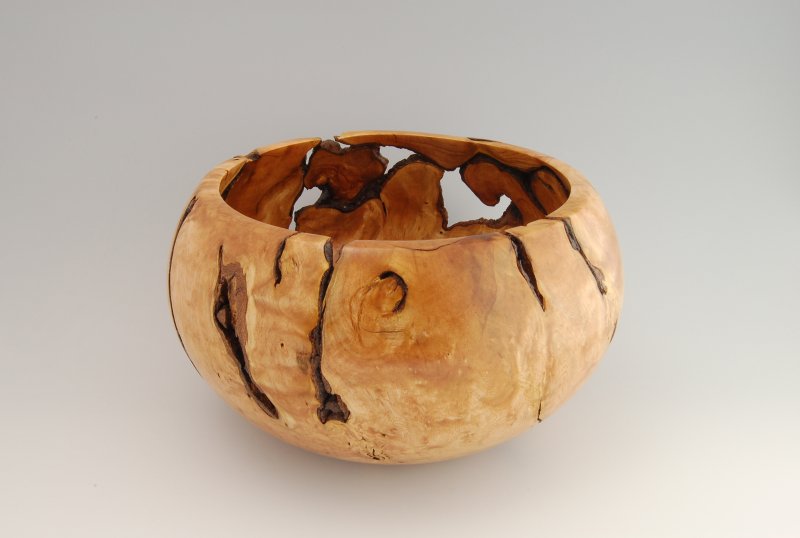

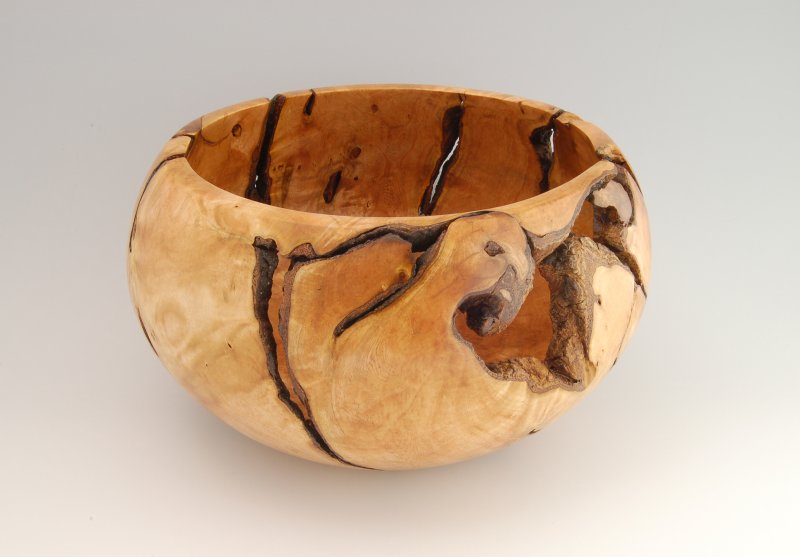
Well, that's the story. I hope you enjoyed it.
- Vaughn